Scheduling a send allows you to send an email to your chosen audience at a time of your choosing. It gives you the freedom to send at an optimal time for your readers, especially if you're sending to employees based in different time zones. It's important to note that the Subject and recipients of a Send cannot be changed once your send is scheduled, you will need to Cancel a Send and reschedule. Use the instructions below to schedule your send.
To Schedule a Send
-
Edit the Email you'd liked to schedule.
-
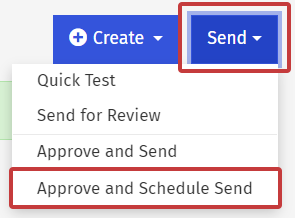
In the Edit Email View, select the Send button and choose Approve and Schedule Send from the drop-down.
Note: You can edit your email at any point before the send and the changes will appear for your readers.
-
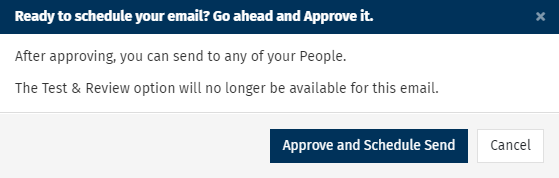
When prompted, choose Approve and Schedule Send.
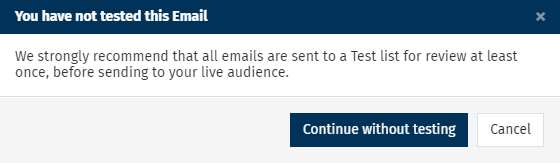
Note: We always recommend Sending a Quick Test or Test Review before a live send.
If you have not completed a test send of your email, you will be asked to Continue without testing. Do so at your own risk.
-
Select who you want the email to be sent to in the To: field (Choose from Tags, Saved Search, Everybody or Email Address). Select Next.
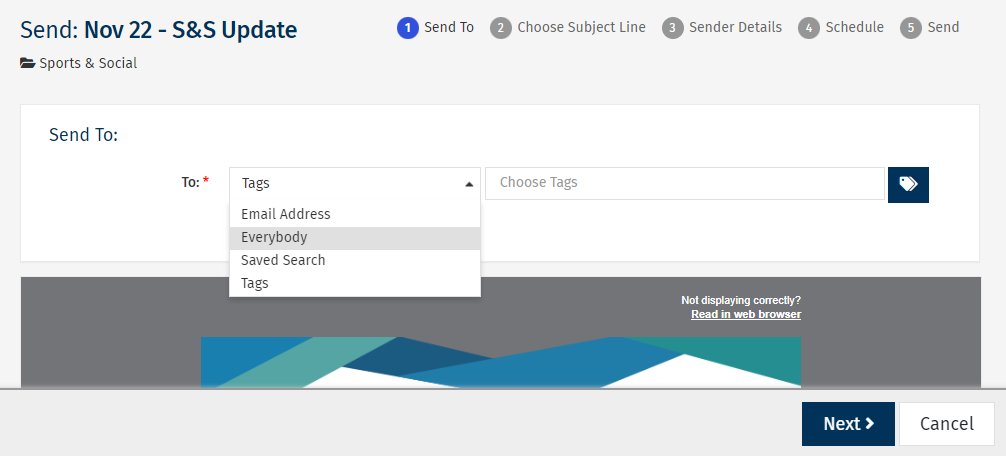
Note: If "Everybody" does not appear as an option, it may be turned off in your Sub Account by your Enterprise Admin.
-
Enter your Subject Line and click Next.
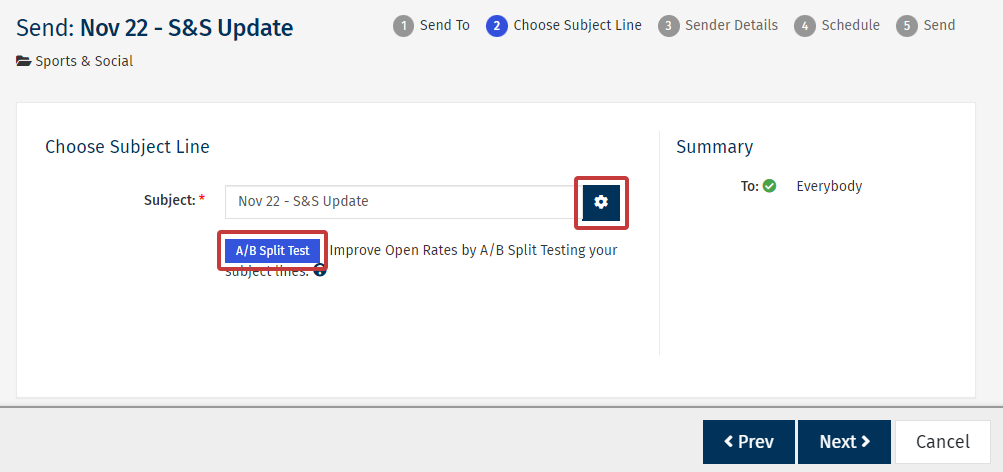
Note: You can also A-B Split Test your Subject Line or Personalise the Subject Line using the buttons highlighted above.
-
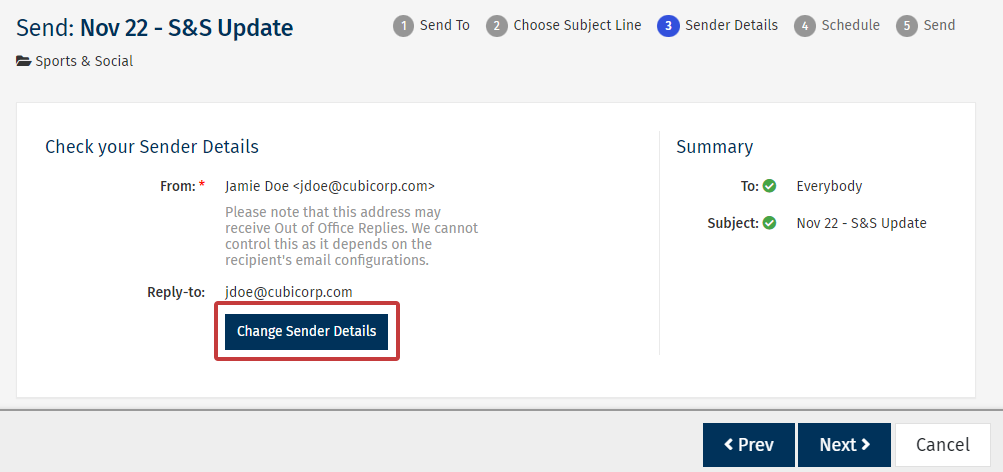
Check your Sender Details. You can edit your Default Sender Details on this screen. Click Next to continue.
-
Set the Date, Time and Time Zone for when you'd like your email to be sent. You can set the email to send at the local time zone of the recipient. You can also use the checkbox if you'd like a confirmation email when your send finishes. Then, click Next.
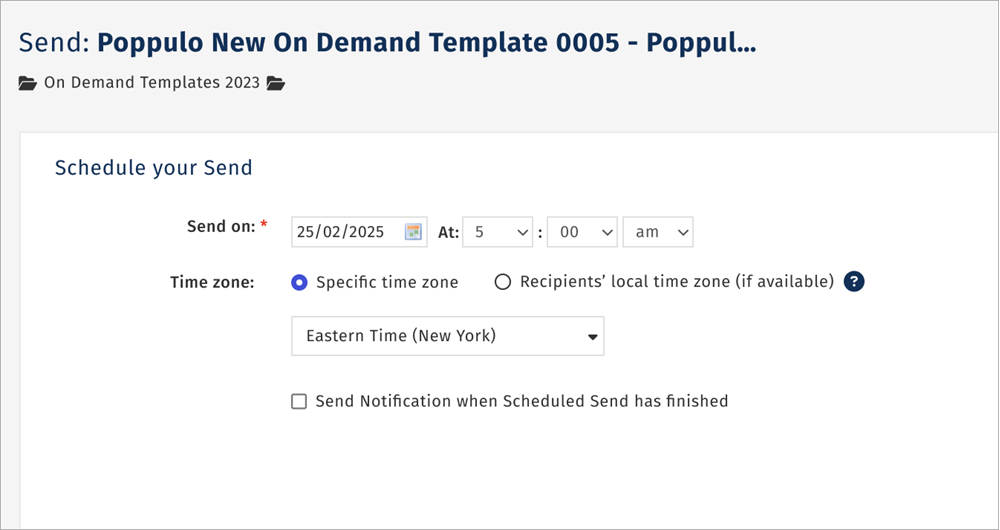
Note: The date will be added to your calendar (you'll notice the date has a green background to denote that an email is scheduled to be sent that day).
-
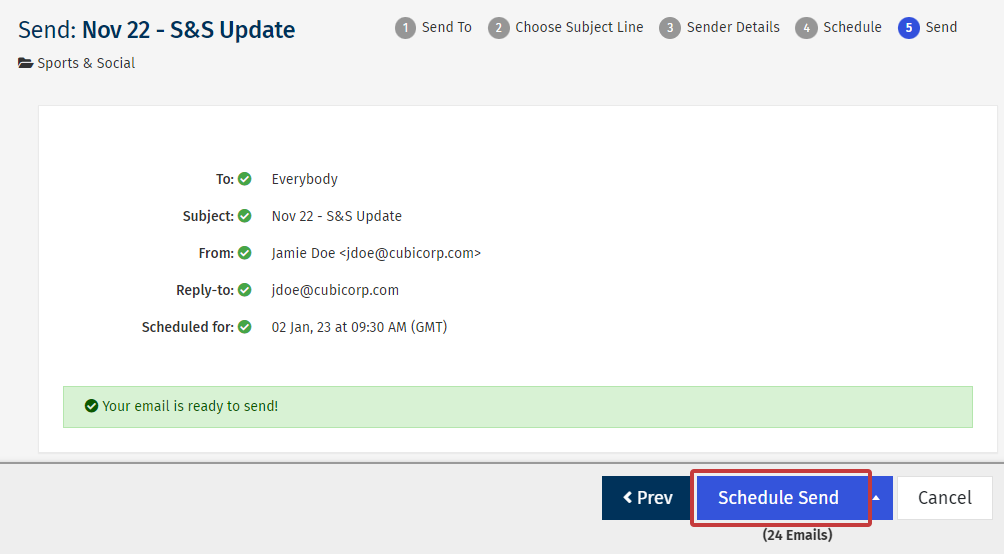
Review your send details, the choose Schedule Send.
-
Your Email is now scheduled and will be sent out on the date you chose. Select Edit Schedule to alter the send date or Cancel Scheduled Send to cancel the send.
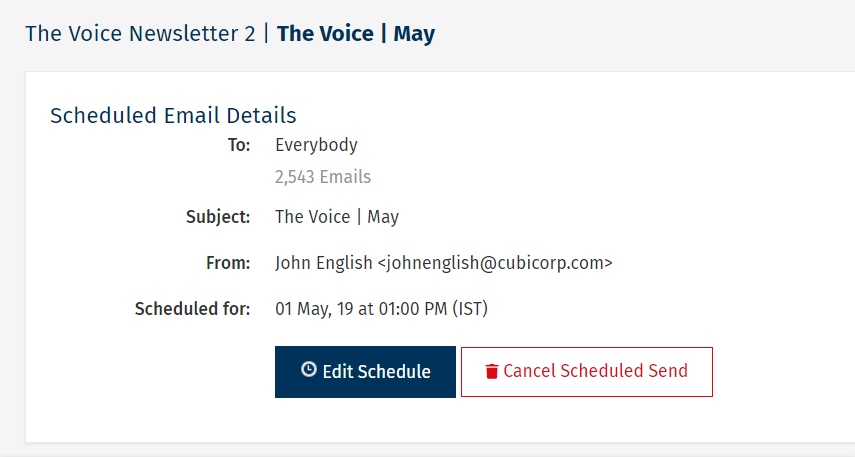
Note: You can Edit the Scheduled Send or Cancel the Send at any time before it's sent.
