What Are Fields?
Employee data in Poppulo Harmony is categorised into different data 'fields'. An employee's 'First Name', 'Country' and 'Department' are all examples of different data fields. These fields allow you to easily identify your audience. You can use the data to create dynamic distribution lists called a Saved Search.
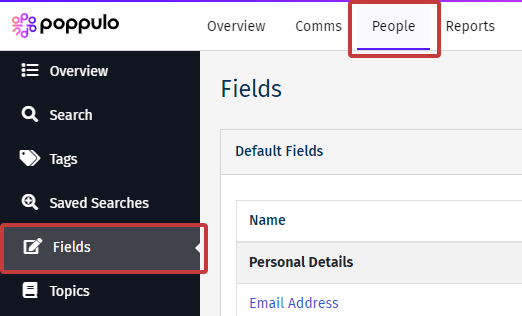
You can see what fields are available to use by going to the People area and selecting 'Fields'.
You can upload data to any of these fields by Manually Importing Employee Data. If the default fields provided are not suitable, you can choose to:
Below is a list of the default fields available in Poppulo Harmony
Note: It's important to be aware of GDPR when storing employee data.
| Fields / Attributes | Accepted Values |
| Email Address | Valid Email Address |
| Salutation | Text |
| First Name | Text |
| Middle Initial | Text |
| Last Name | Text |
| Preferred Name | Text |
| Company | Text |
| Title/Position | Text |
| Gender | Text |
| Employee Number | Text |
| Date of Birth | Date |
| Employee Start Date | Date |
| Mobile Number | Phone Number |
| Preferred Language | Preferred Language Accepted Values |
| Employment Status | Text |
| Department | Text |
| Division | Text |
| Business Unit | Text |
| Function | Text |
| Team | Text |
| Reports to | Text |
| Pay Grade | Text |
| Cost Center | Text |
| Address | Text |
| Address 1 | Text |
| Address 2 | Text |
| Address 3 | Text |
| Office / Building | Text |
| Site/ Location | Text |
| City | Text |
| State/ Region | Text |
| Post Code | Text |
| Region | Text |
| Country Code | Text |
| Country Name | Text |
| Time Zone | IANA (Internet Assigned Numbers Authority) |
Note: Some fields can autocomplete, meaning that field values imported will appear in a selector throughout the system rather than the user having to type a text value. Fields that behave like this are marked with a star. 
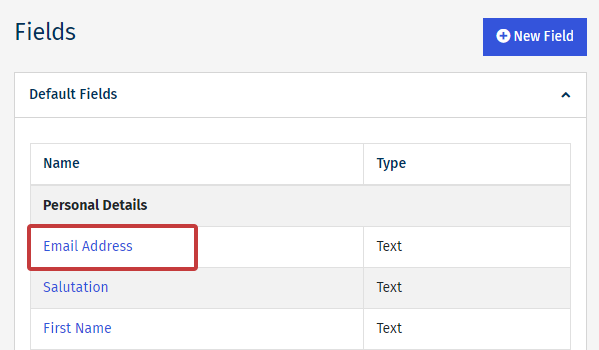
- Click the Name of a data field.
- Enter your Custom Display Name.
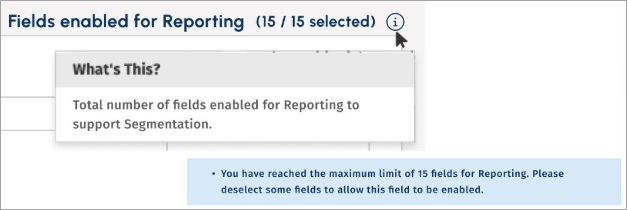
- If desired, in the Enable for Reporting field, click Yes. This provides tracking for advanced analytics.
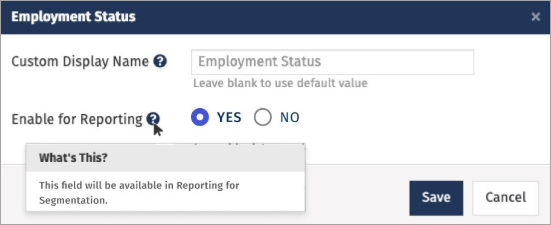
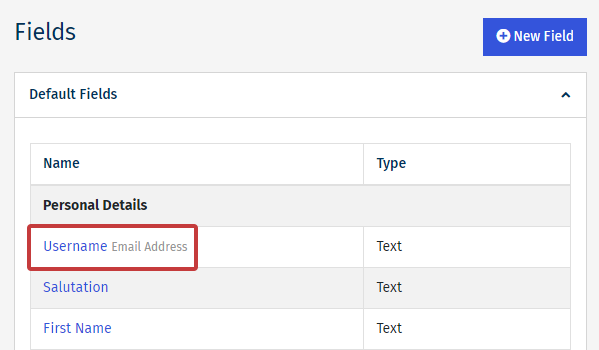
- When finished, click Save. The new Custom Display Name displays, but the original name of the field will still be viewable in grey.
Note: Users can enable up to 15 fields for reporting.
The new name will display when you Run a Search.
Note: Once you create a custom field you cannot edit or delete the field.
-
In the People area of your account, select Fields.
-
On the Fields screen, click New Field on the right.
-
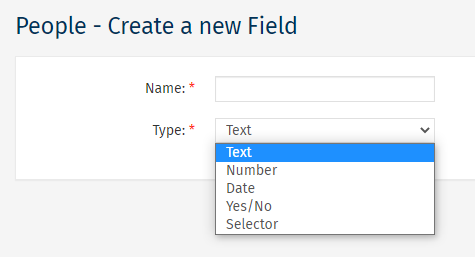
Enter a Name for your custom field and select a the data Type which will be stored within the custom field. When you begin typing in the Name field, a list of popular field names will appear for you to choose from. You can select one of these suggested names, or type a new name if needed.
-
Text holds both words and numbers (maximum length of 255 characters)
-
Number holds only numerical values.
-
Date holds date format (ddmmyy, dd/mm/yy, dd/mm/yyyy)
-
Yes/No holds either yes or no.
-
Selector creates a drop-down list of options specified by you.
-
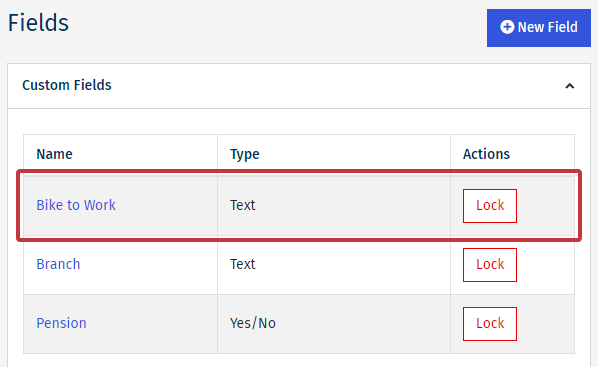
Click Save to create your Custom Field.
-
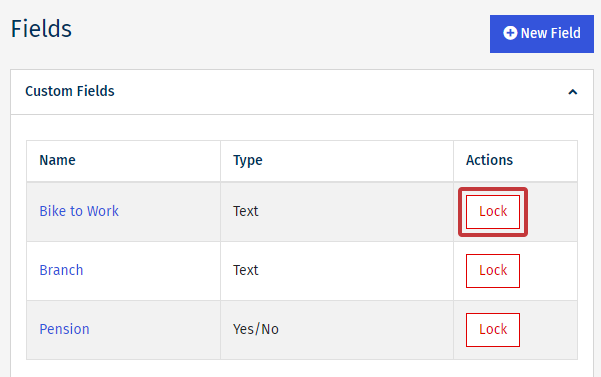
Your new Custom Field will appear on the Fields screen (the below example uses the Text type option with the title "Bike to Work").
-
In the People area of your account, select Fields.
-
On the Fields screen select Lock; under the Actions column, to the right of the Custom Field you'd like to lock.
-
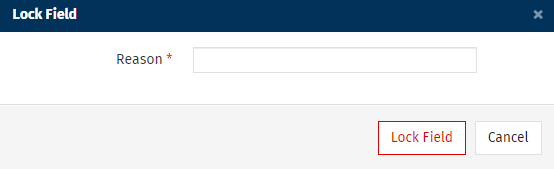
In the Lock Field pop-up, enter a Reason for locking the field, then click Lock Field to complete. (Entering a reason is mandatory, to give other Poppulo Harmony users visibility.)
-
The locked Data Field will no longer appear as an option to populate during a data import.
Note: The process is the same to Unlock a data field. The Lock button will appear as Unlock.
