The Edit View is where you will add content and customize the look of your email. Once you Create a New Email, you automatically land in this Edit View.
Toggle the Edit button to access The Edit View of your email.

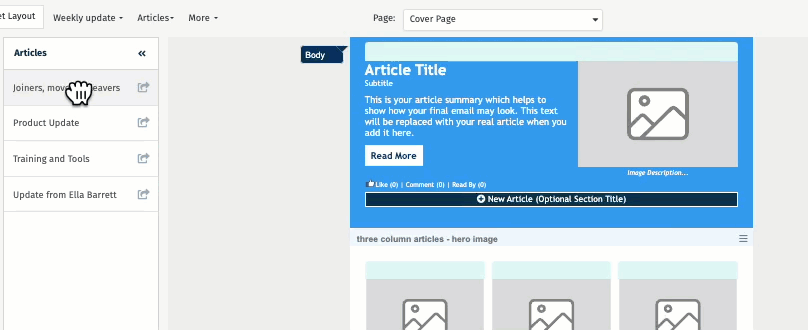
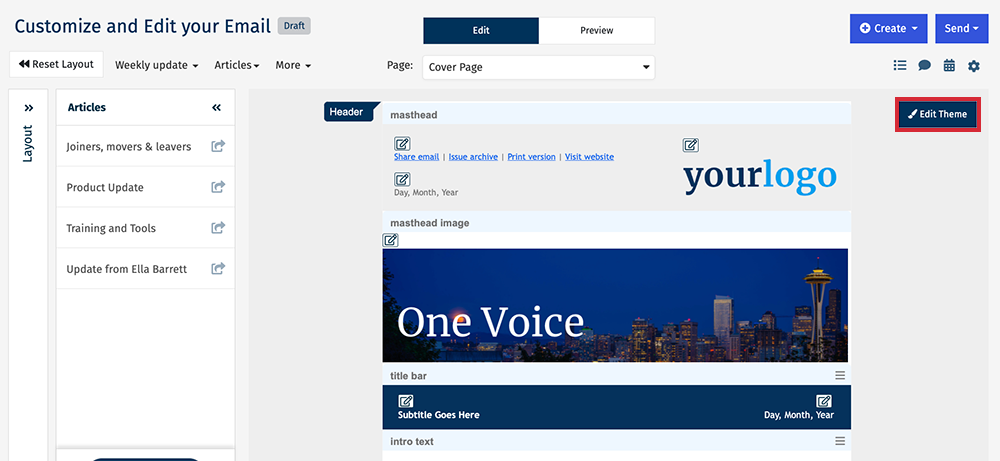
Switch between pages of your email to view or edit the content. The Cover Page is what your employees see in the inbox. You can view article back pages (full story content) and other pages associated with your email.

This video will provide a quick overview of the Edit view, and you can view how to use features in detail below.
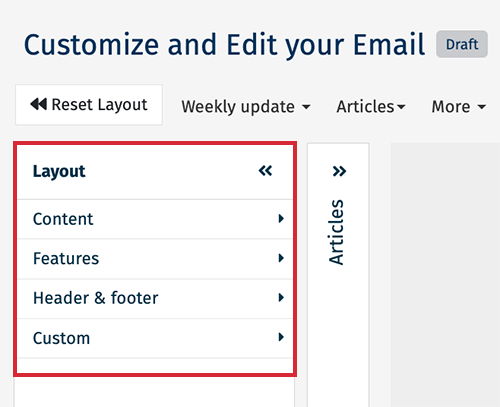
In the Edit View, you'll find a Layout menu on the left, which will allow you to add new sections and features to your email.
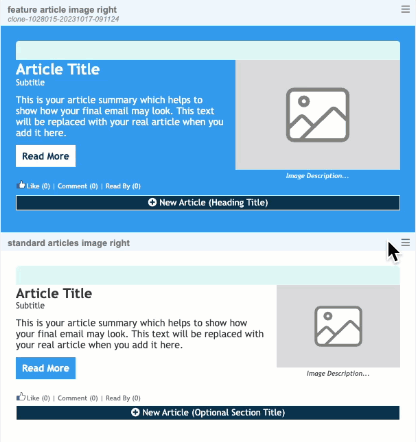
You'll also find a list of Articles on the left. You can drag and drop these Articles into your Newsletters. If you don't see any Articles in this list, it's time to Create an Article! 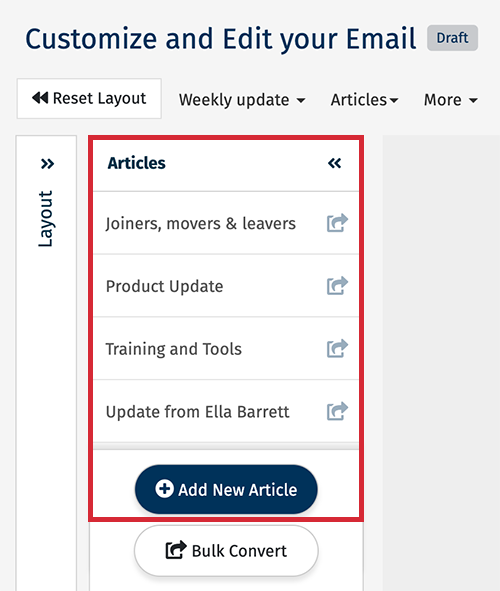
The Edit View allows you to:
To Drag and Drop Articles in your Newsletter:
-
Open the Edit View of your Email.

-
Click and hold the top bar of whichever Article you'd like to move, and drag it to the desired area of your email.
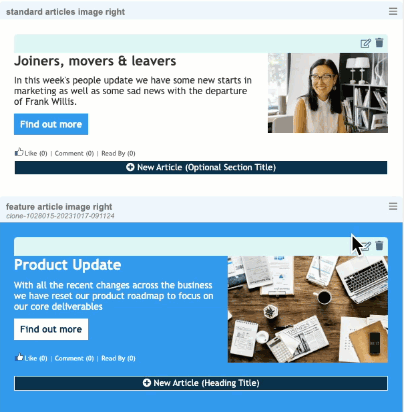
Note: The Article has moved position and now appears in a different Section.
To Drag and Drop Articles from the Article List:
-
From the Articles list, click and hold an Article and drag it into the desired Section.
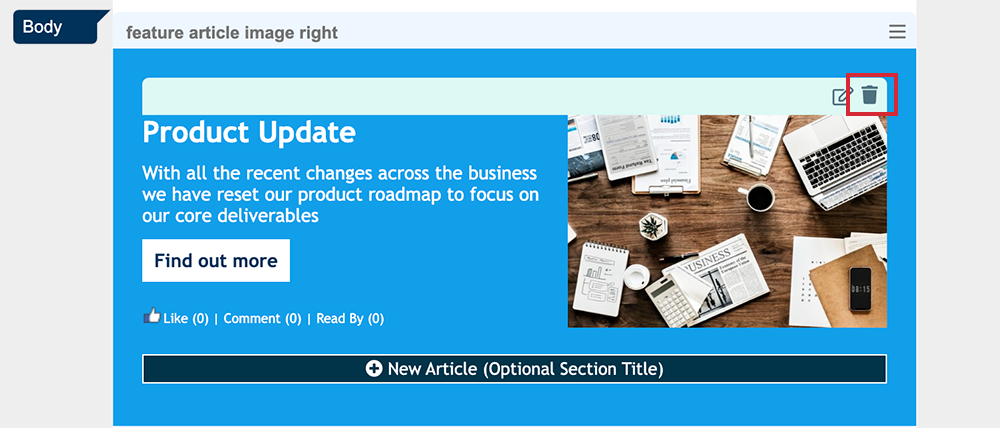
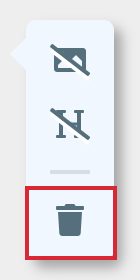
To Delete an Article:
-
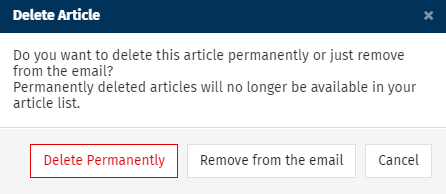
Choose the Article you'd like to delete, and select the Delete icon.

-
You have the option to Delete Permanently or Remove from the email. Delete Permanently removes the Article from your email completely, including from the Articles list. Remove from the email removes the article from that Section of your email; it will still be accessible from the Article list on the left for dragging and dropping into another Section later if needed. Select whichever option is fit for your purposes.
To Drag and Drop a Section in your Newsletter:
- Open the Edit view of your email.

- Click and hold the top bar of whichever Section you'd like to move, and drag it to the desired area of your email.
To Show or Hide a Section Title or Image:
- At the top of your Section, you will see a Menu. Click to expand the menu.
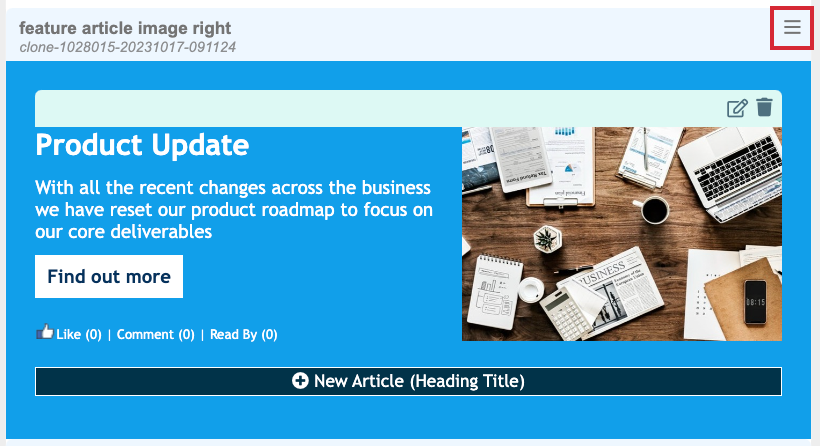
Note: The example given is to Show images and headers. Follow the same steps and click the same icons to Hide the section images or headers. - Click the Section Image icon to turn on a section image. (Click the Same icon to turn it off.)

- Click the Section Header icon to turn on a section title. (Click the Same icon to turn it off.)
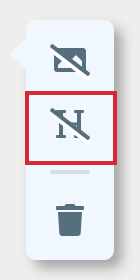
- Click to Add Image or click the Edit icon beside the Section Header to edit the title.
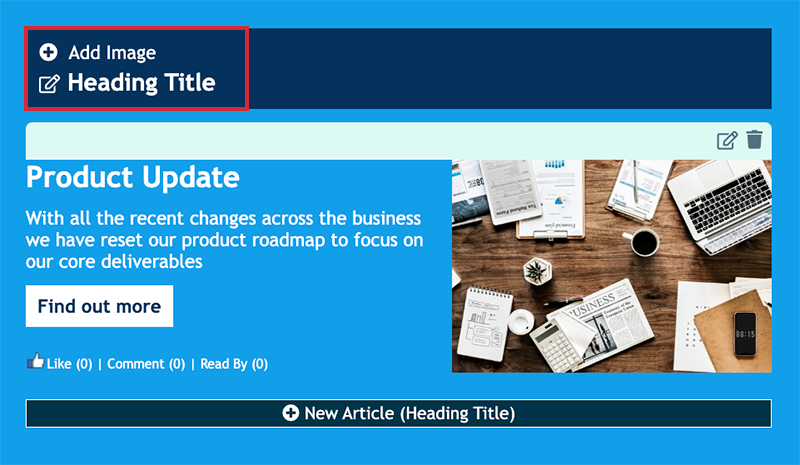
Note: You can style the Section Header using the Template Theme.
To Delete a Section:
- At the top of the Section you want to delete, click the menu.

- Click Delete to remove the Section.
Add a New Section or Feature to your Newsletter:
-
In the Edit View of your email, expand the Layout menu.
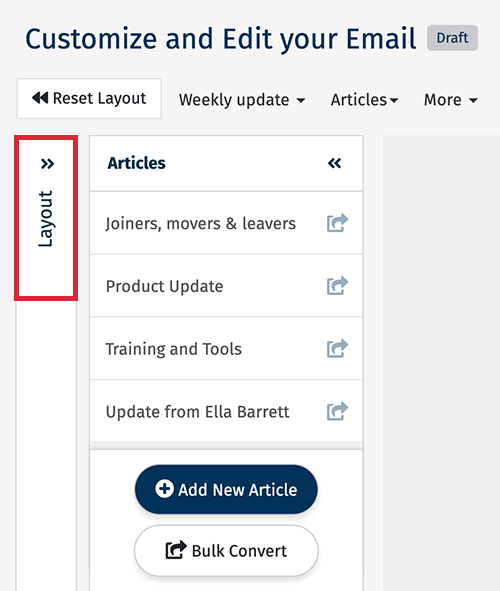
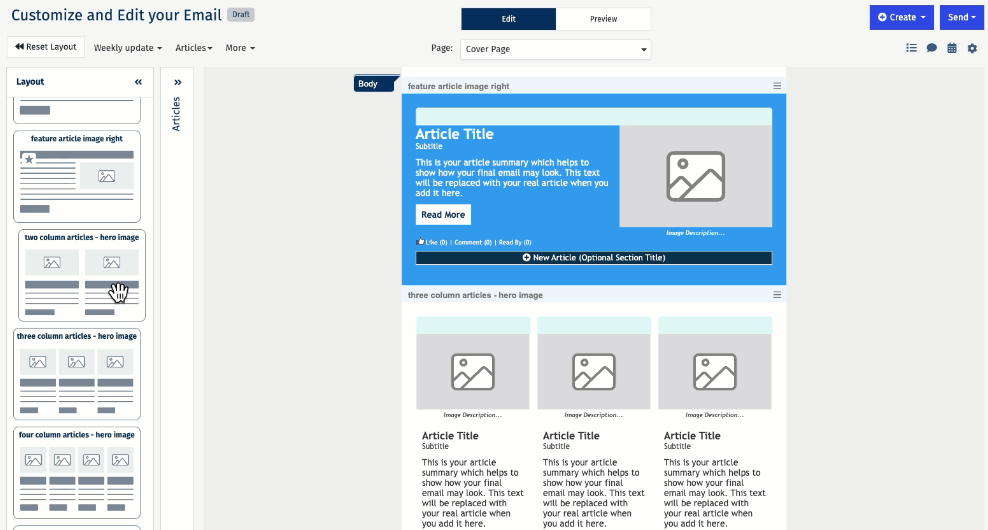
- The Layout menu has multiple options.
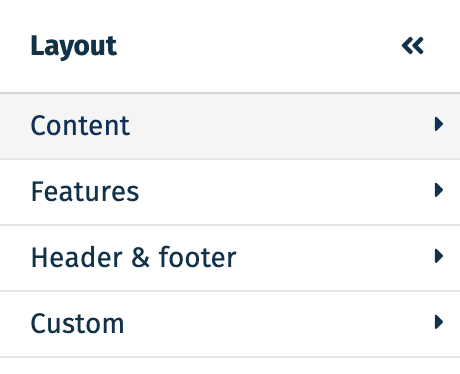
- Content: Options for content boxes or various article layouts.
- Features: Social Networks, Survey
- Header and Footer: Options for your header and footer layouts
- Custom: Divider Lines, Full Width Images, Buttons, and more.
- The Edit view of your email has indicators for the Header, Body and Footer areas of your email.
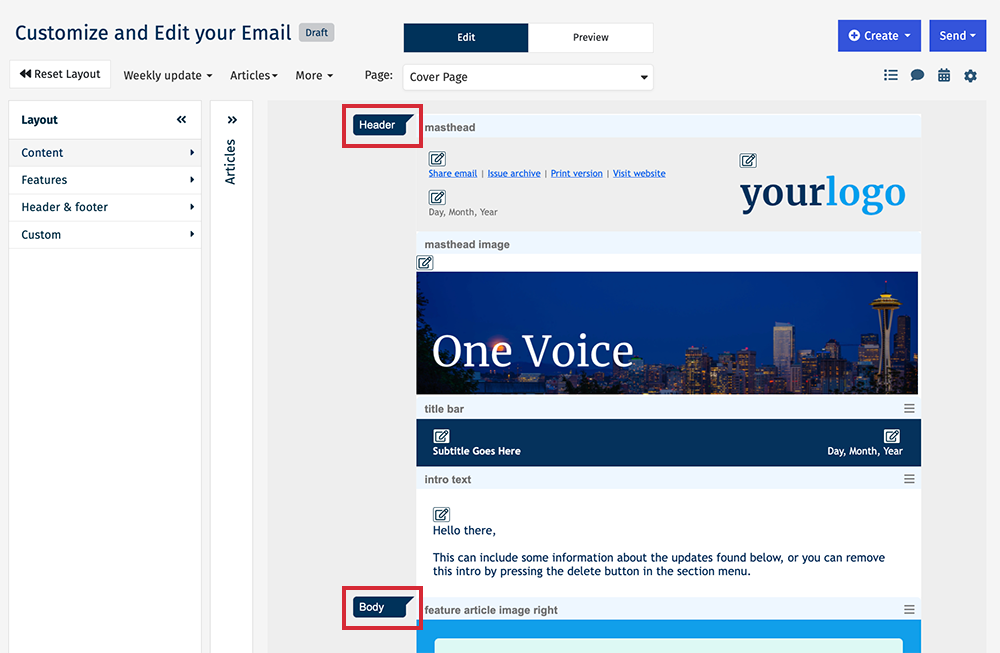
- Use the Header and Footer areas for new Header & Footer sections
- Use the Body area for Content items. You can add an Intro text section to the Header, but not articles.
- You can add Features to the Header, Footer and Body areas of your email
- Click on the section you want to add and drag it into your email.
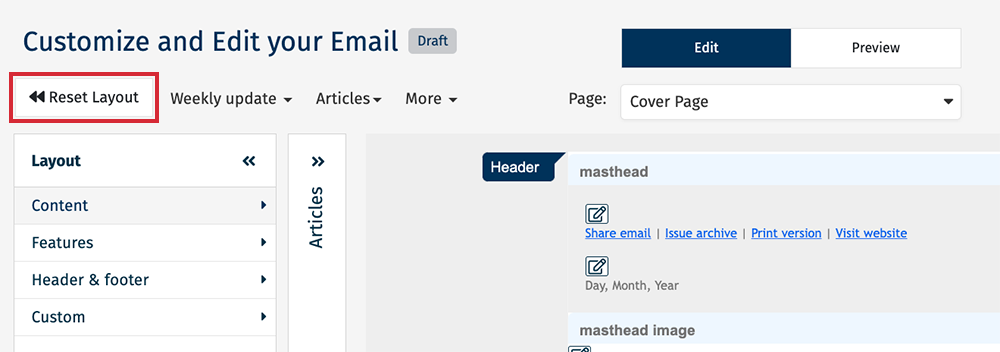
Reset your email Layout
- In the Edit View of your email, click Reset Layout.
Edit the Template Theme
- In the Edit view of your email, click Edit Theme.
- Complete the steps to Edit the Email Theme.
