Poppulo Reports allows you to get real-time updates on how your readers are reacting to your email communications. Creating a Custom Report in Poppulo Harmony enables you to drill down deeper into particular audience segments or to statistics that are of interest to your team and organisation. For instance, if you want to view whether there are different open rates between various countries, you can do this by creating a Custom Report.
Some Custom Reports can even be scheduled, giving you reporting how and when you want it. Follow the instructions below to create a Custom Report.
To Create a Custom Report
-
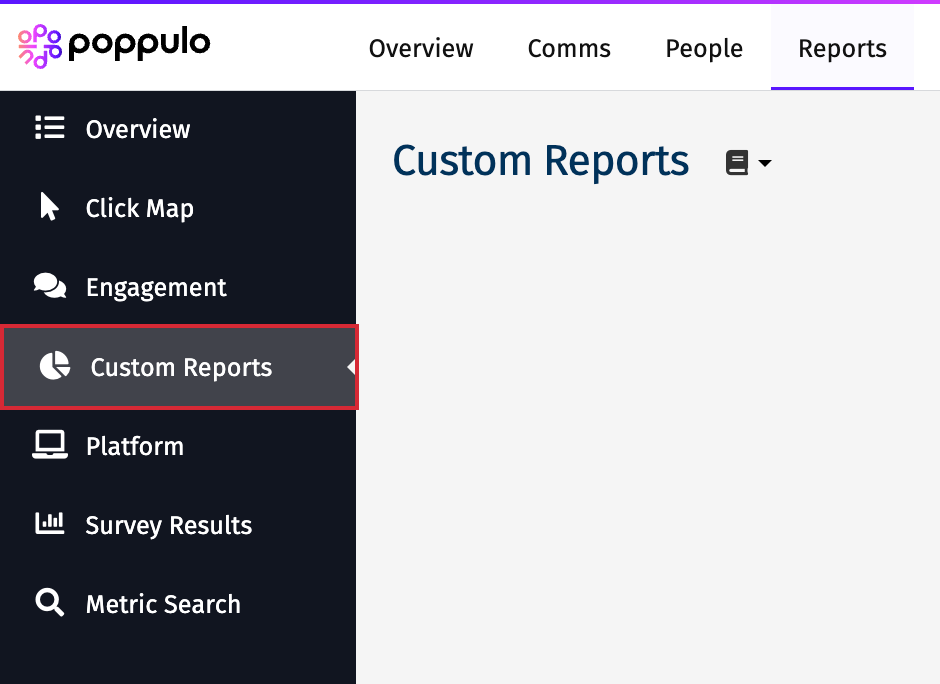
In the Reports area of your account, select Custom Reports from the menu on the left.
-
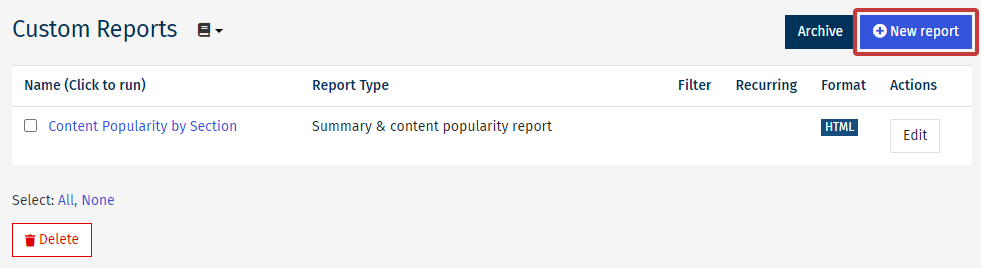
On the Custom Reports screen, select the New report button.

-
The Create a new Report page is where you can choose your Report Name, Format and Type.
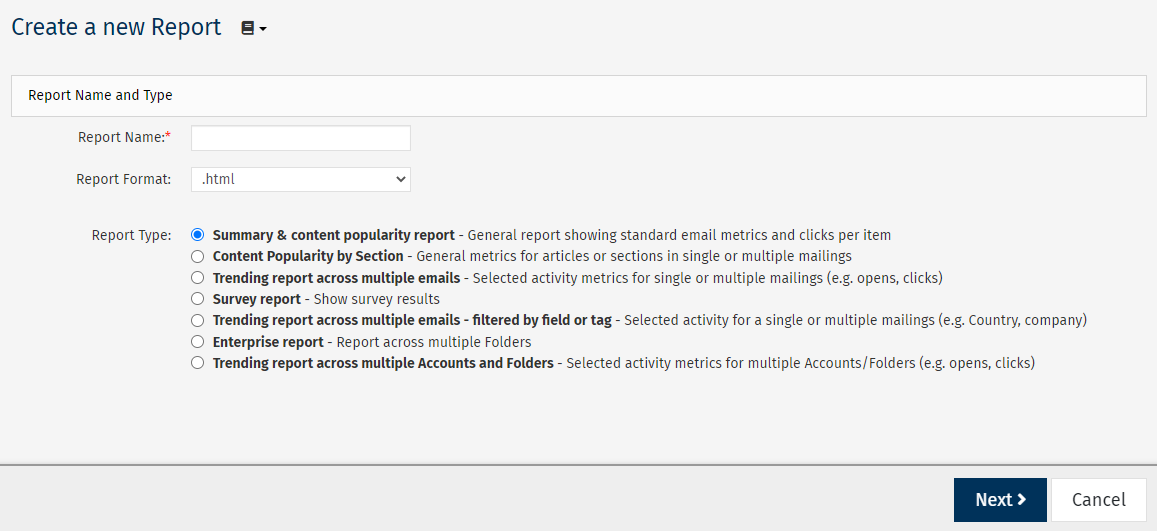
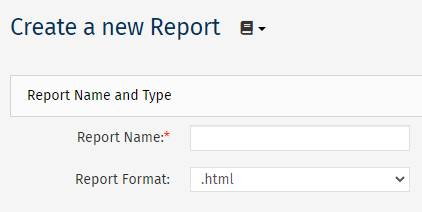
Enter the Report Name and choose your preferred Report Format for viewing the data.
Note: Some report formats have a limit on how many emails you can report on. Limits - PDF(.pdf): 60 emails, Excel(.xls): 200 emails.
Choosing .pdf, .csv or .xls, as the Report Format will reveal additional Scheduling and Email Options (see below).

-
Choose the Report Type you wish to run and click Next.

The steps in the Custom Report Wizard will be slightly different depending on which Report Type you choose. Click on of the links below for the steps associated with each report type:
-
Choose your parameters, then select Next.
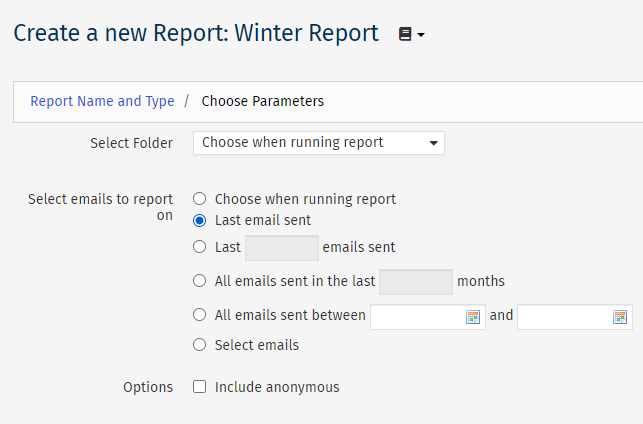
Note: The Report Type selected in Step 4 above will define what parameters are available. For this example, the report is a Summary and Content Popularity Report.
- If you've chosen to create a Trending Report filtered by Field or Tag, you'll be asked to select the Fields/Tags you wish to report on.
- If you want to run the same report on different publications and/or mailings, select the Choose when running report option from the Select Folder drop-down - this will allow you to update your selection when run the report.
-
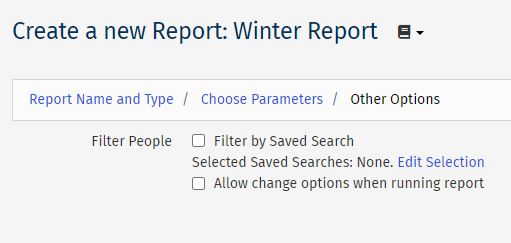
Set your Other Options, then select Next.
- Review your Custom Report, then choose Save. (Alternatively, choose Save & Run to run the report.)
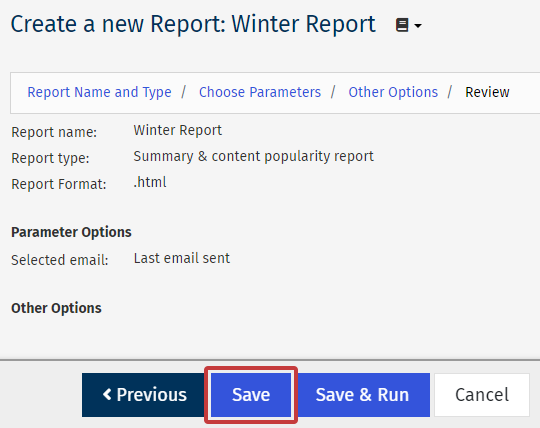
Note: The Review page is a complete summary of all information entered during the Create a Report Wizard. Review this information carefully to ensure your report accurately targets the data you would like to capture.
-
Once saved, you can Run a Custom Report at your convenience. You can also Edit or Delete a Custom Report from the Custom Reports screen.
