As well as being able to Personalise Sender Details and Add a Personalised Greeting to your Email, you can also personalise the subject line of your email to make it more relevant to your readers.
You can personalise the subject line for any email you send simply by editing the subject line during the send process. You can pull employee data into the subject field and personalise it by inserting a field macro. For the example below, we are going to promote an event; we'll personalise the subject line by entering the location of each individual employee who receives the email. (e.g. Coming to London, or Coming to Cork).
To Personalise the Subject Line of your Email:
-
Open the email you'd like to personalise the subject line for and start the Send Wizard.
-
Select the People you want to send your communication to and click Next.
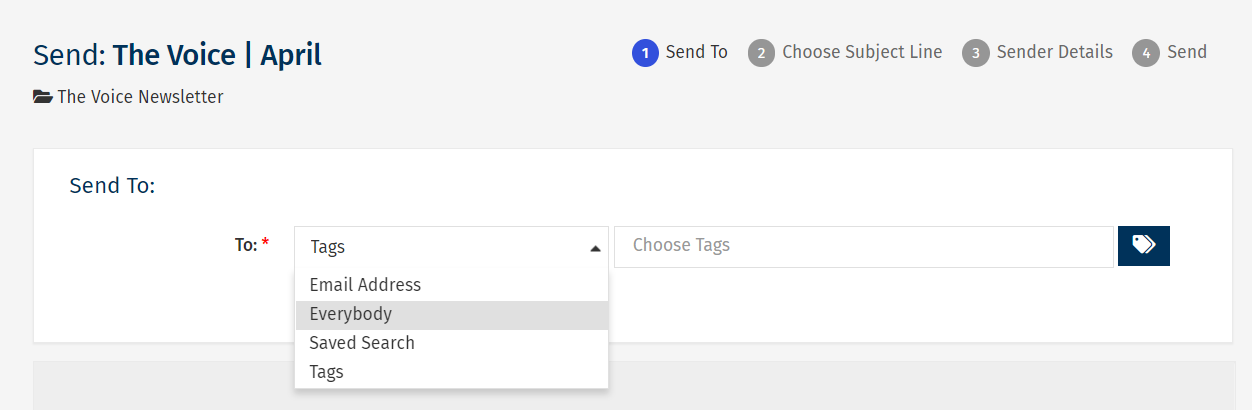
Note: If you would like to test the functionality, send to a single email address(yourself or a colleague). If "Everybody" does not appear as an option, it may be turned off in your Sub Account by your Enterprise Admin.
-
Add a Subject Line.

Note: If you are happy with the Subject and do not want to personalise it with employee data, click 'Next' and complete the Send Wizard.
- Type in the text that will appear to every to Everybody, regardless of their location, in the Subject field.
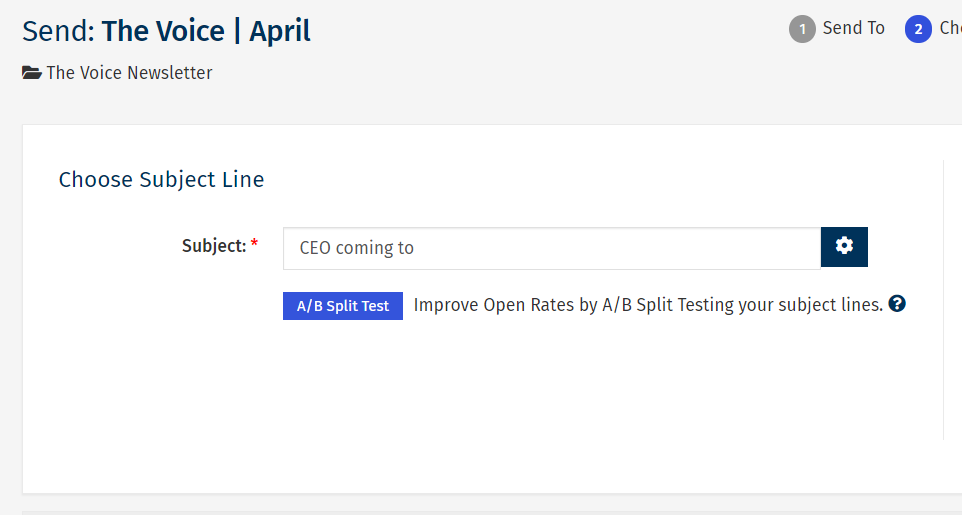
Note: The example above shows 'CEO coming to '; with the location not included.
- Place your cursor where you'd like the personalised information to appear and click the Insert Field macro icon at the end of the subject field.
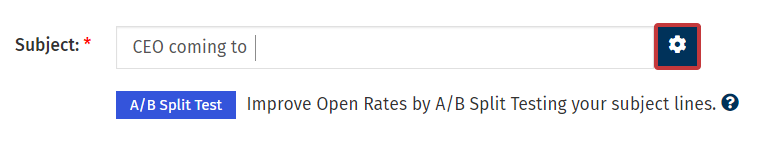
Note: The example above shows the cursor one space after 'coming to'.
-
In the Insert Field screen, select the specific data Field you want to pull into your personalised subject line and complete the or default to field. Then, click Insert.

The example above shows City for the data field. (The default entry is what will appear to any employee that does not have a City registered against their profile to avoid the subject line appearing blank in that case.)
-
Your subject line will now update to include personalised HTML code. Click Next and continue through the rest of the Send Wizard.
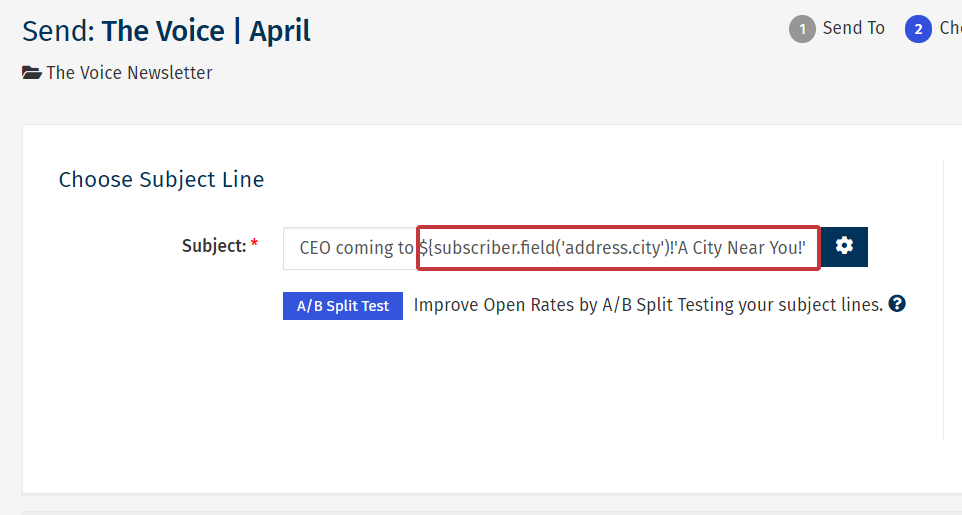
Note: The example above shows ${subscriber.field('address.city')!'A City Near You!'} in the subject. This HTML will pull the City field and include it in the Subject line for any employee receiving the email.
