With an Advanced Event, you can view how people have engaged with your invite and you can manually add new invitees, or Accept and Decline an invitation if asked to do so.
When you view your event responses, you can filter them by Accepted, Declined or Not Responded.
You can also filter by Activity to show when an invite response was last changed. This means if an invitee changes their mind or adds a last minute dietary requirement for example, the filter activity will show you these latest updates.
Use the instructions below to manage your event attendance.
To View and Filter your Event Responses:
-
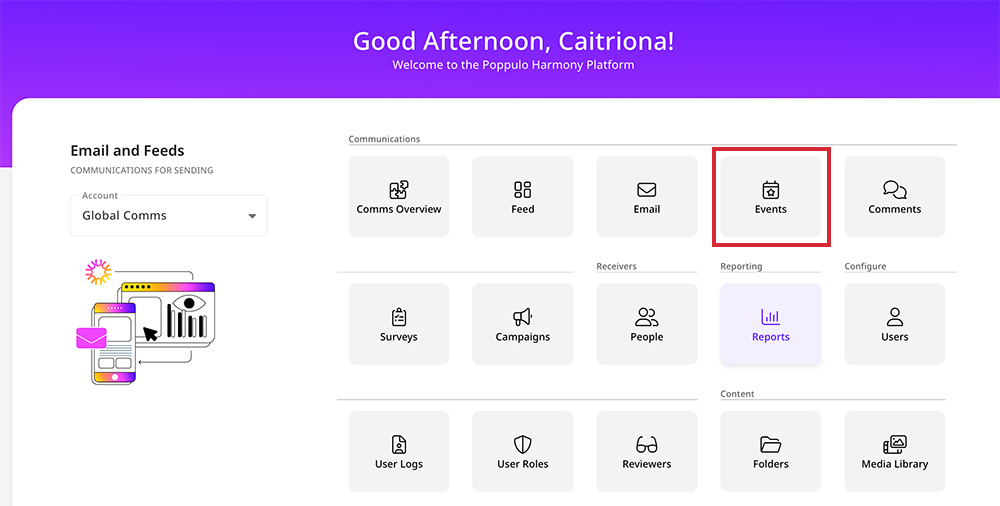
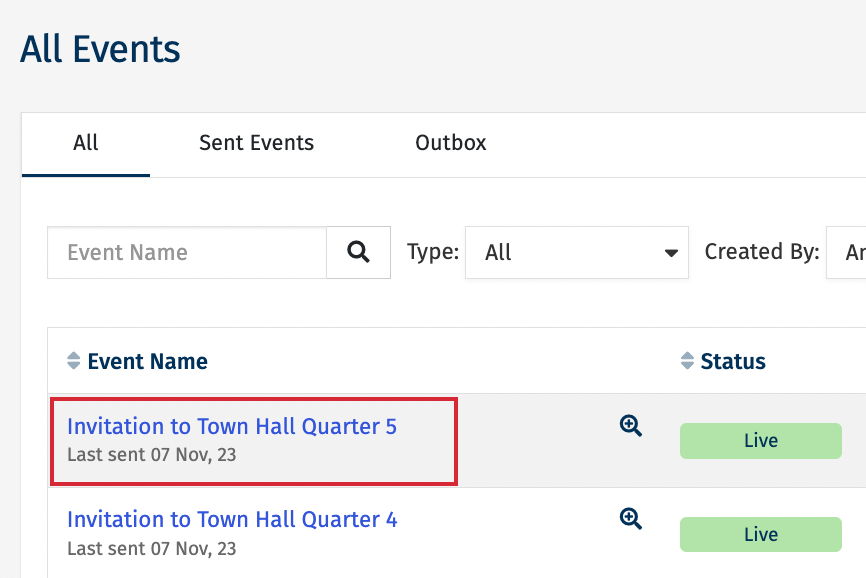
From the Landing page, click on Events then click on the title of your Event.
-
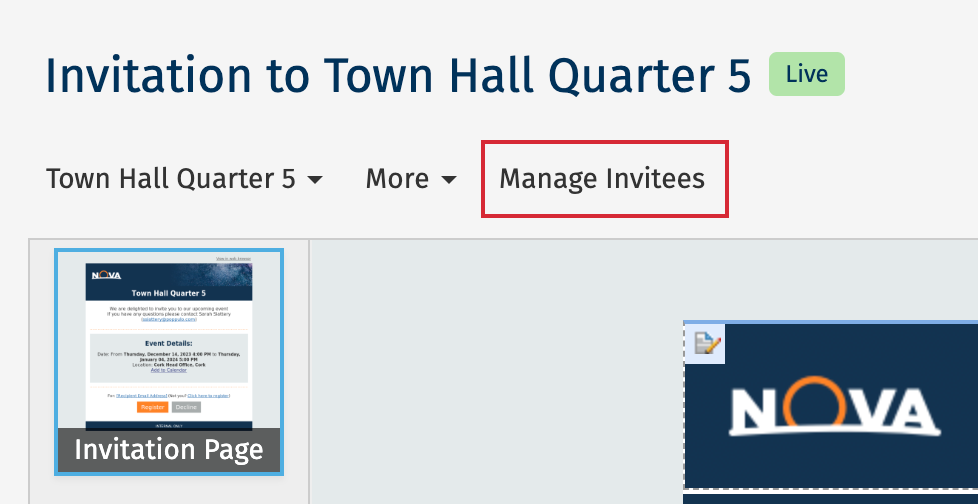
Select Manage Invitees.
-
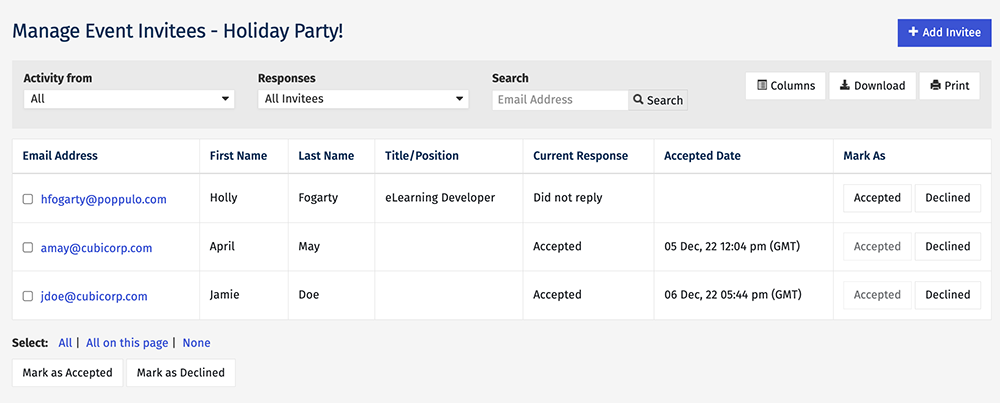
This will open the Manage Invitees screen.
-
You can toggle between invitees that Accepted, Declined, Did not reply or are Awaiting Registration.
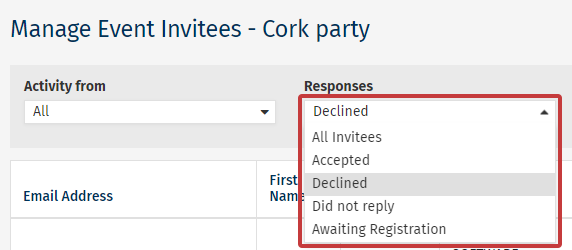
Note: Invitees marked as Awaiting Registration have accepted the invite, but have not yet completed the registration form. -
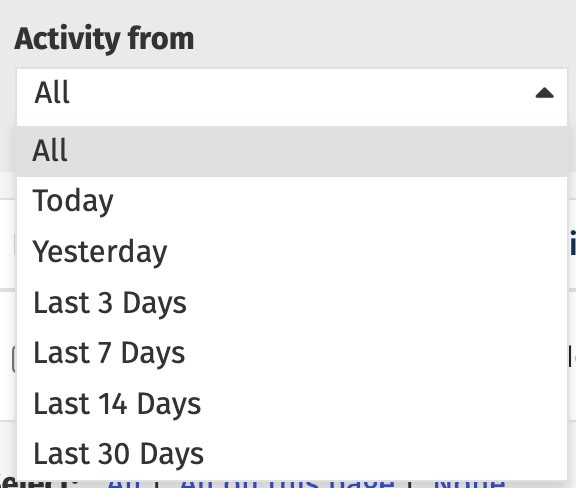
You can toggle to view the latest activity using Activity from
-
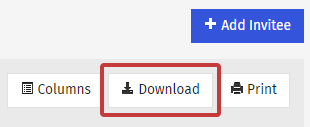
You can click Download when you're viewing a list of invitees to download a customized list of your invitees and event information. You can Add Display Columns to add details to your file by clicking 'Columns'.
<back to top>
Add People to an Event
If you want to send additional people an invitation email, you should
Approve and Send your Event to them. You can add people to an event without sending them an invitation using the instructions below.
-
View your Event Responses.
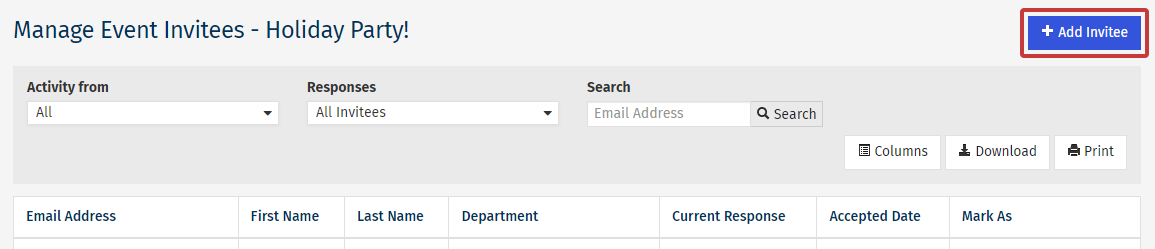
- From the Manage Invitees screen, click the Add Invitee button. This option is only available in accounts that do not use Enterprise People Management.
-
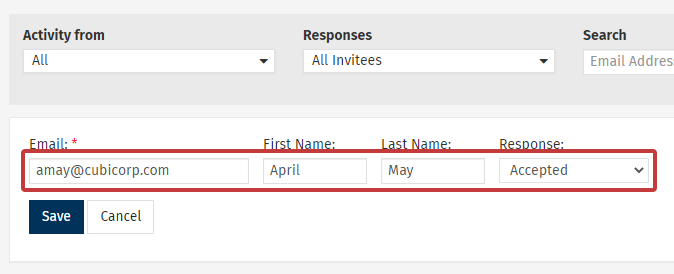
Complete the invitee's Email address, First Name and Last Name and Response. Then, click Save.
-
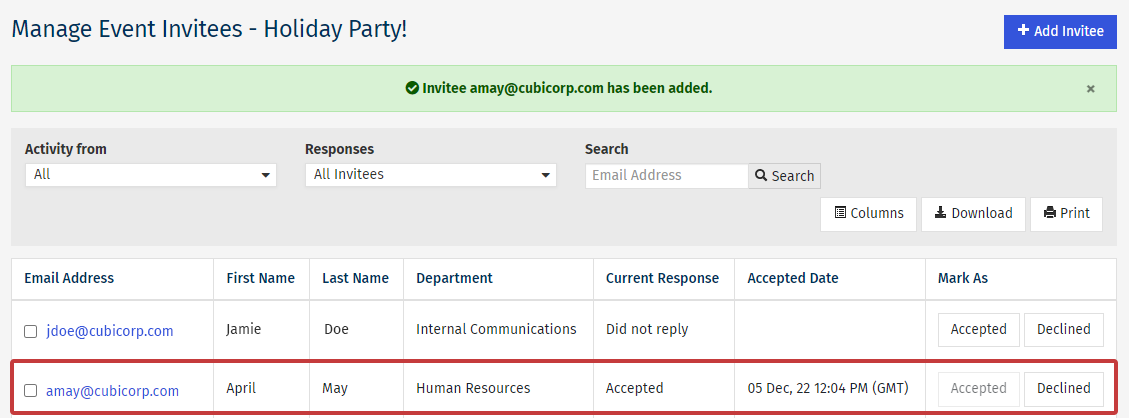
The new invitee will be added to your list of attendees, and will receive any follow-up communications that you send going forward.
<back to top>
Edit an Event Response
-
View and filter your Event Responses.
-
In the Invitee Manager you'll see a list of everyone that received your event Invitation. Toggle to find an invitee based on response, session (if your event has multiple) or use the search box.

Note: You can also filter your invitees by Activity from. This means when they responded, in the Last 3 Days for example.
-
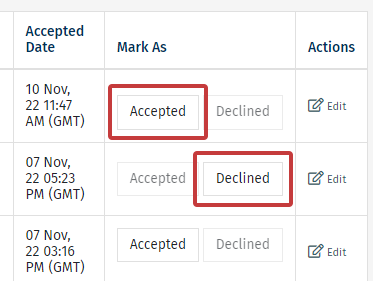
Once you've found the employee you'd like to edit, click Accepted or Declined to update their response.
-
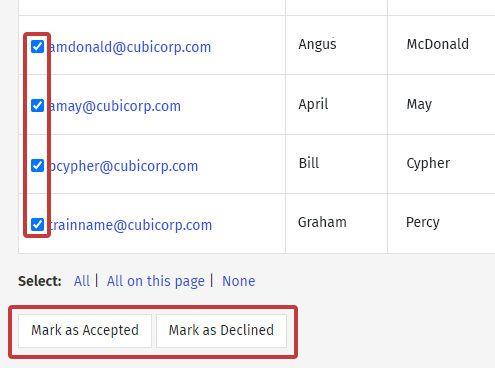
You can also bulk update People by using the checkbox and clicking Mark as Accepted or Mark as Declined.
- Click Done when you've completed your changes.
<back to top>
