If your newsletter contains a lot of content, you could allow your readers to filter content based on certain topics that they are most interested in. You can still ensure some content appears to Everybody, but other news items would then appear based on the readers' preferences - helping to keep your communications as relevant as possible.
Use Poppulo's Topics feature to filter content based on your readers preferences.
How Does it Work?
-
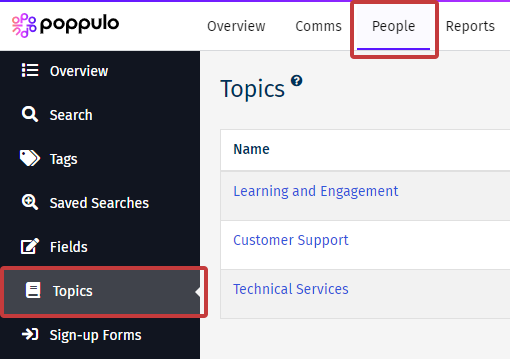
You can Create Topics in the People area of your account.
- You must Link Topics with Sections in your Newsletter.
-
Add your Topics to a sign-up form and/or update profile form which you Add to your Newsletter.
-
Employees select which Topics they are interested in.
-
An employee that has selected one or more Topics will see only the Sections with those Topics.
-
An employee that has not selected any Topics will see all content.
-
You can Add People to a Topic manually to get started.
-
It is also possible to configure your Newsletter template to order the content of your Newsletter based on employee preferences; for instance placing content from a employee's preferred Topics above other content (contact Poppulo Support to adjust your template if you would like to use Topics in this way).
Testing your Topics setup:
Before sending your newsletter, it's a good idea to preview it as a number of different People, to double check that you correctly linked your sections with Topics. Use the instructions below to preview your Newsletter to verify that the employee can see the Sections Associated with that Topic.
To Verify if a Topic is correctly Linked with your Section:
-
Preview your Email using a particular employee email address.
- The preview will show you the newsletter as it will appear for that employee. You can verify if the correct Topic content is linked.
Note: When using Topics it is good practice to always include some content which is not associated with any topic, but will be seen by everyone. Otherwise make sure that you have some content associated with every topic. This is to ensure that no employee receives a blank newsletter.
-
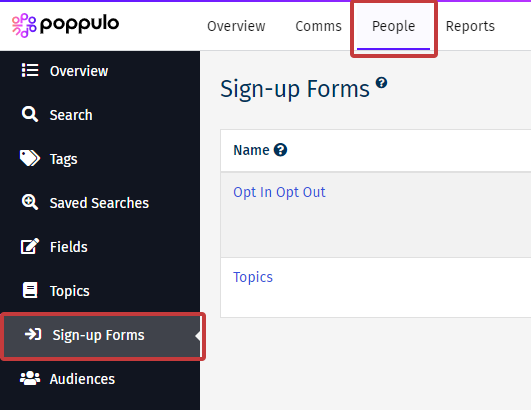
In the People area of your Account and select Topics from the menu on the left.
-
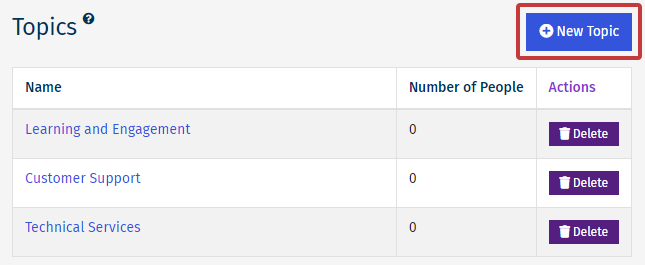
Click the New Topic button, in the top right corner of the Topics page.
-
Enter a Name and Display Title for your new Topic:
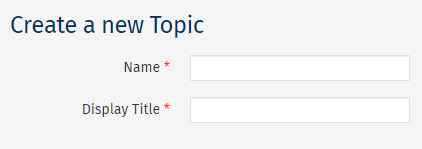
- The Name is used to identify the Topic in your account, and is not visible to employees.
- The Display Title is the name that your readers will see listed on a Sign-up/Update Profile Form.
-
Click Save. You can now link your Topic to your Articles or Sections.
<back to top>
-
In the edit view, navigate to the More drop-down and choose Sections.

-
In the Sections Screen, click the Section you would like to link the Topic to.
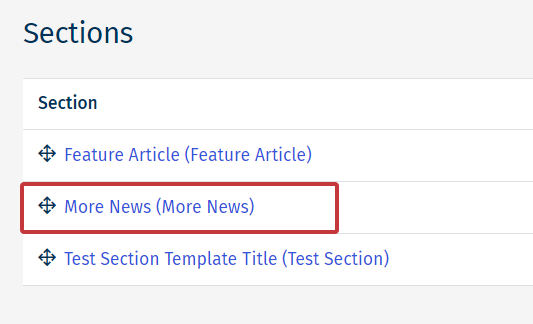
Note: The section titles here will vary, and cloned sections (items dragged in from the Layout menu) will have long numbers at the end of the titles. It may be best to do this with a Master template (i.e. not a cloned email), and to then clone the email following this.
-
Select your Topic(s) and click Save.
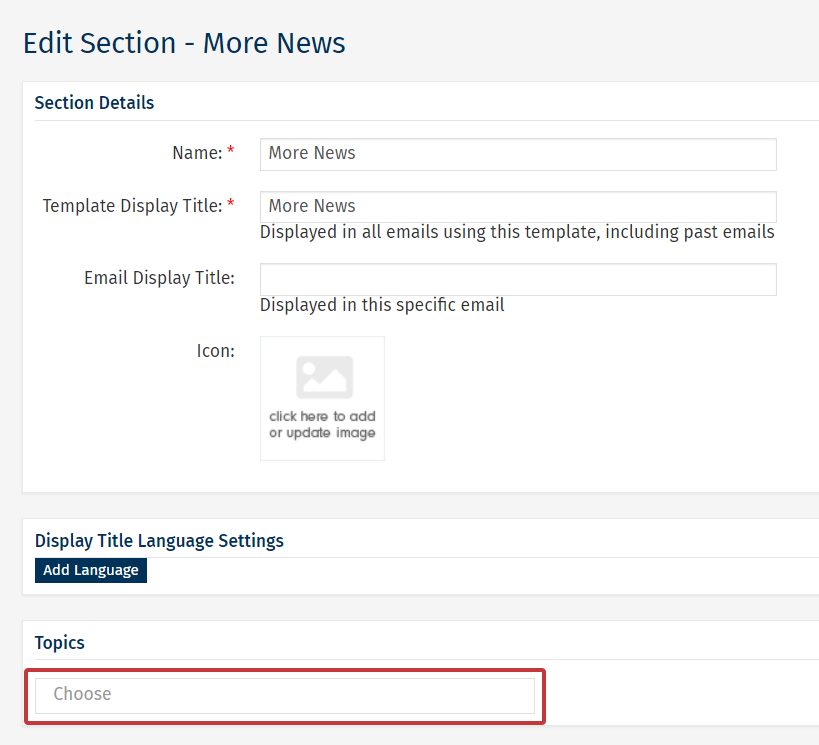
Note: You must have Dynamic Content turned on in your account to see the option to associate a Topic with this section.
When you send your Newsletter, this section will be seen by employees who have selected the associated Topic on signing up for your newsletter (or updating their profile). It will also be seen by employees who have not selected any topics.
<back to top>
-
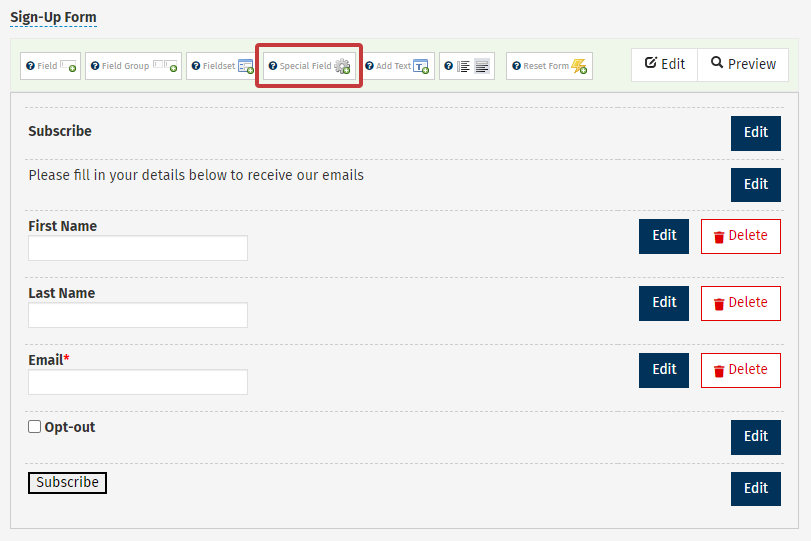
Follow the steps to Create a Sign-up Form or Edit a Sign-up Form
-
In the Sign-up Form, click the Special Field button.
-
In the Field Type drop-down, select Topics.
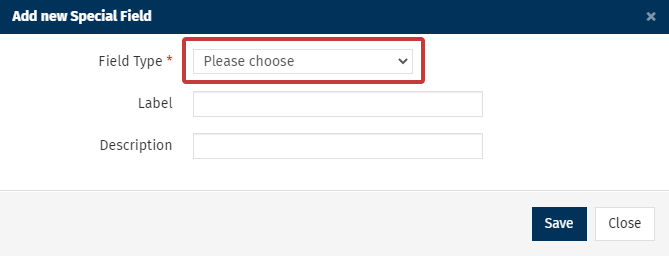
Note: If you cannot see an option to add Topics, Create a Topic. If the Topics functionality is not enabled in your account, contact Poppulo Support.
-
Enter a Label and Description (these will be seen by your employees), then choose the Topics to add.
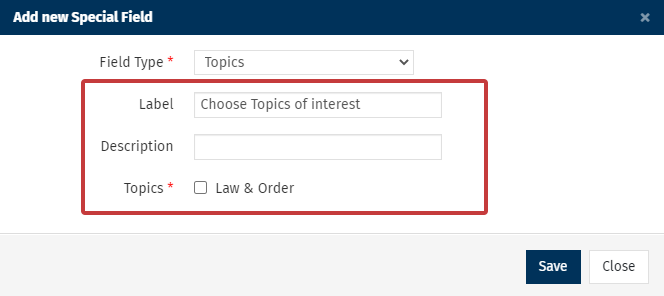
-
Click Save to return to the Sign-up form. You will see the Topics in place.
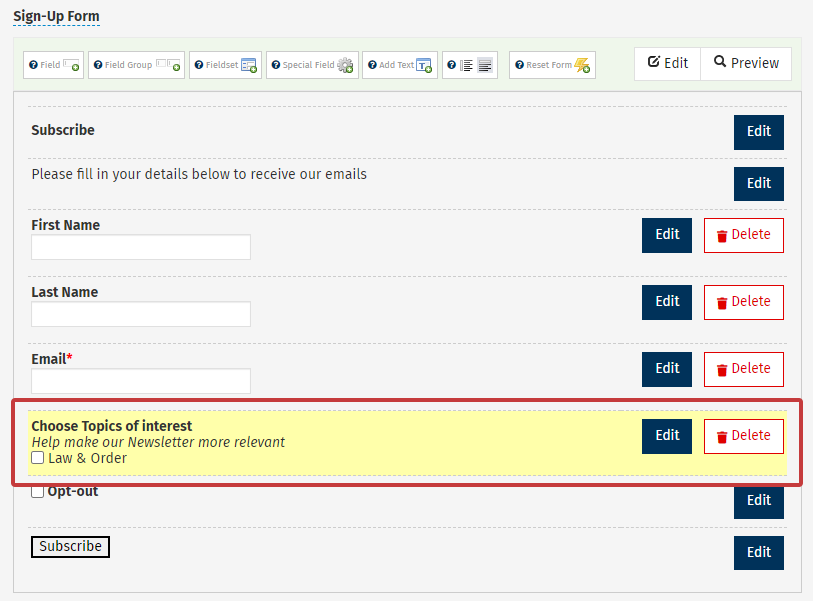
Note: You can drag and drop the Topics to re-order the way they appear on your form.
- Click Save to save your changes.
<back to top>
Using Topics allows your employees to choose what content (sections) they want to see using Sign-up forms. You can also add employees to a Topic manually.
-
Use the steps to Manually Import the People you'd like to add to a Topic.
-
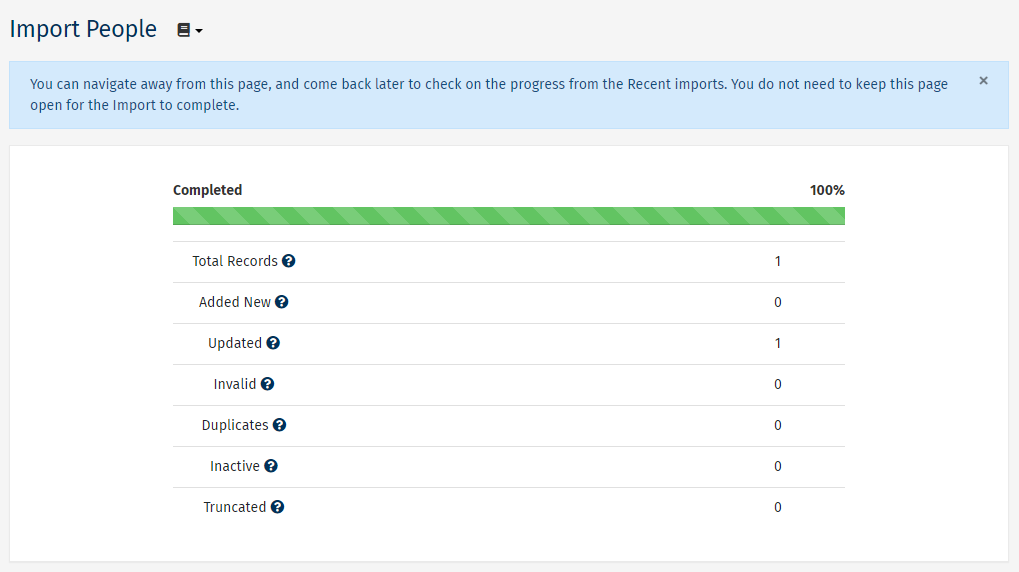
When you come to the screen below, choose the Topics you'd like to add your People to in the Topics dialog box.

Note: You must have at least one topic created to apply Topics here.
- Click Import Now to complete the update of your People - you can verify this on the final screen or by going to Overview in the People area.
-
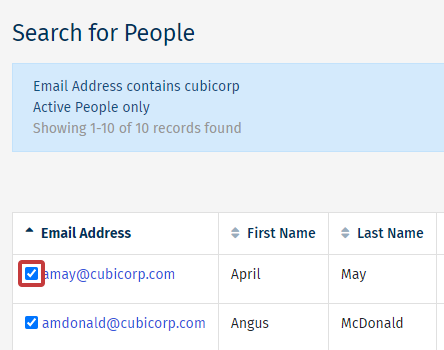
In the People area of your account, select Search from the menu on the left.
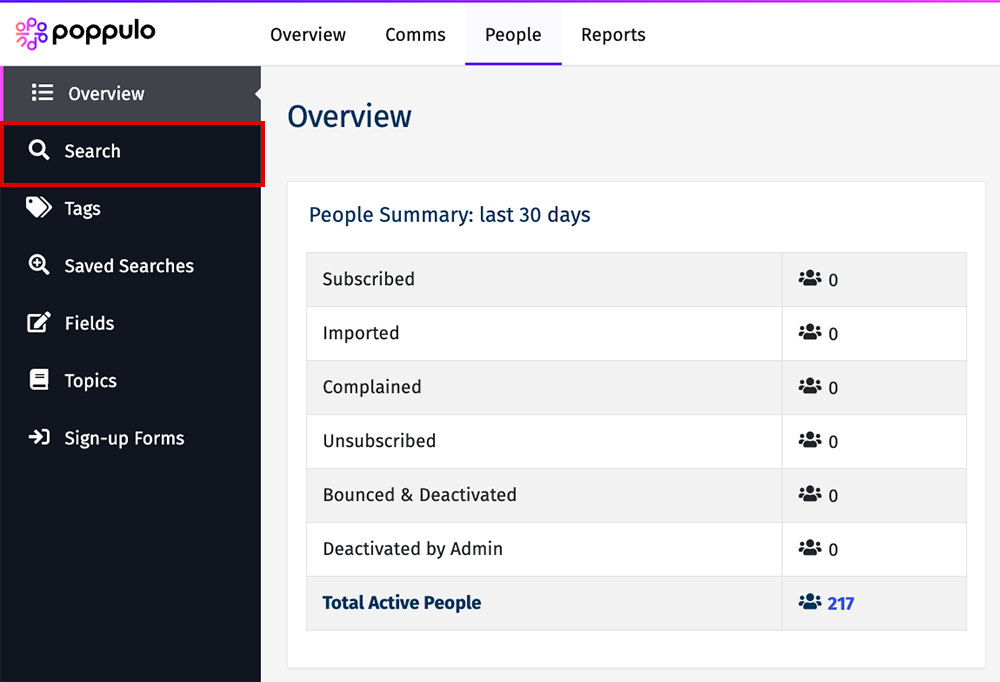
-
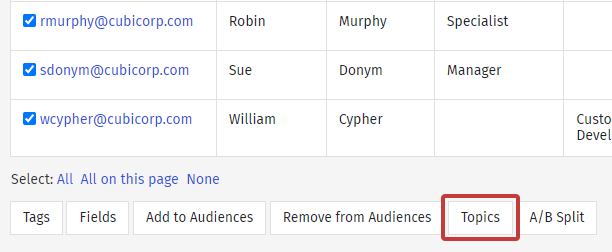
Run a Search to target the People you'd like to apply a Topic to. All the People matching your search criteria will be displayed on the results page. Use the checkbox beside each employee email to choose the ones you'd like to add to a Topic.
-
At the bottom of the results, select the Topics button.
-
Choose the Topics you wish to add to your People and click Save.
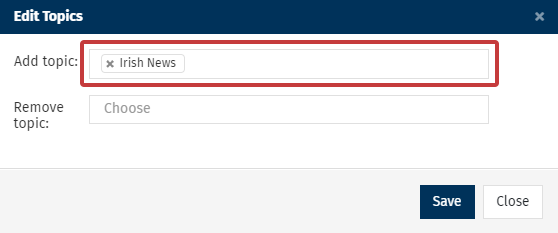
Note: You can also Remove People from a Topic here.
<back to top>
