With our latest release, users have the option of implementing generative AI. While disabled by default, customers can opt-in / -out of this feature, and when switched on, the AI icon displays inside the text box (inactive), becoming active once the communicator adds post content (minimum 10 characters).
Generating the Post Title, Notification Title & Notification Description
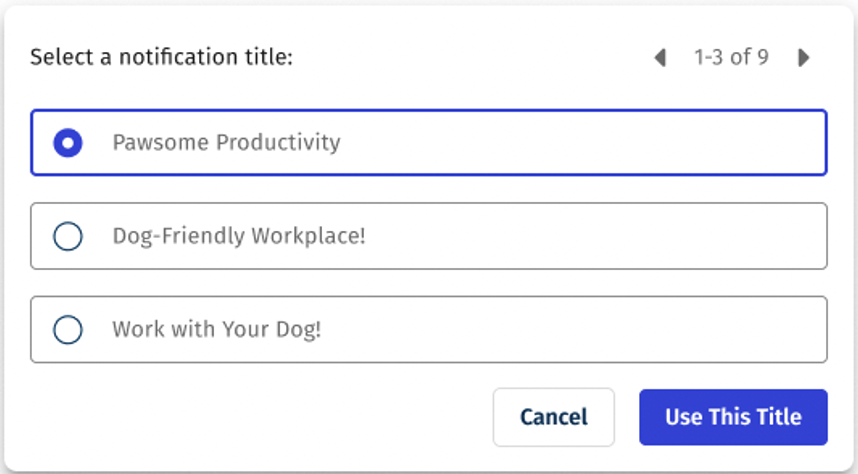
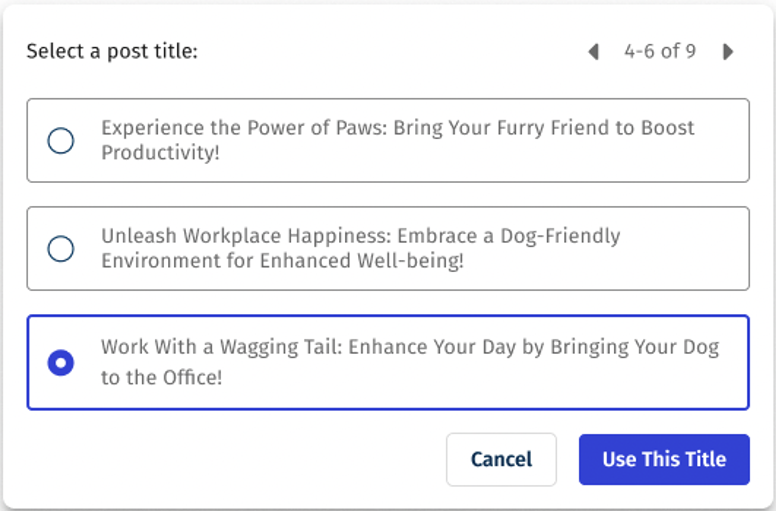
Once the communicator clicks on the AI icon, the post title modal displays:
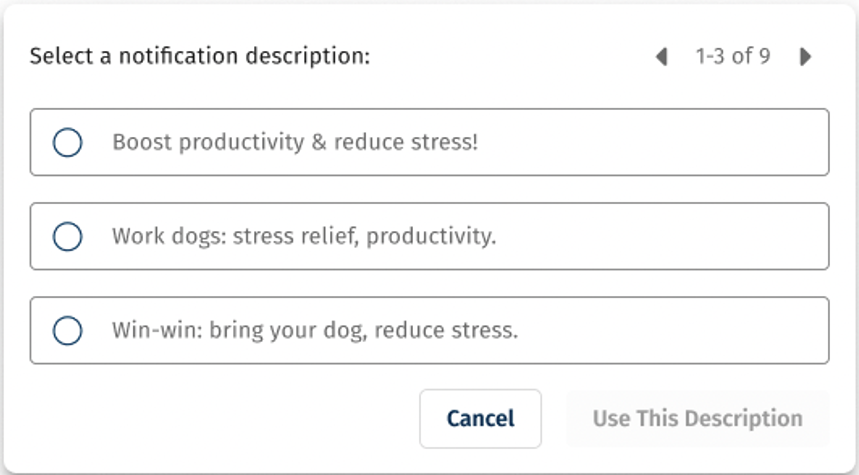
- Up to nine suggestions are returned, and the communicator can rotate through them, displaying three at a time. The backend checks that all nine meet the character limits of the frontend, and as a result, fewer than nine may be returned.
- Use this title button becomes active once the communicator selects a title / description.
- Upon clicking, users are directed back to the Create a Post page, and the field has been populated with the selected title / description.
- The Cancel button takes the communicator back to the Create a Post page.
A new set of up to nine titles / descriptions are generated each time the communicator clicks the AI icon.
All content will be generated from the body content - post title, notification title and notification description are being generated and not rewritten so that is why we don't take what the user may have already typed for each
Notification Title

Notification Description

Post Title

- To configure generative AI, at the Enterprise level, navigate to the Settings page. The Poppulo AI toggle is available.
Note: By enabling this toggle, customers are agreeing to the Poppulo AI Supplemental Terms, which resides in the Account Settings page.
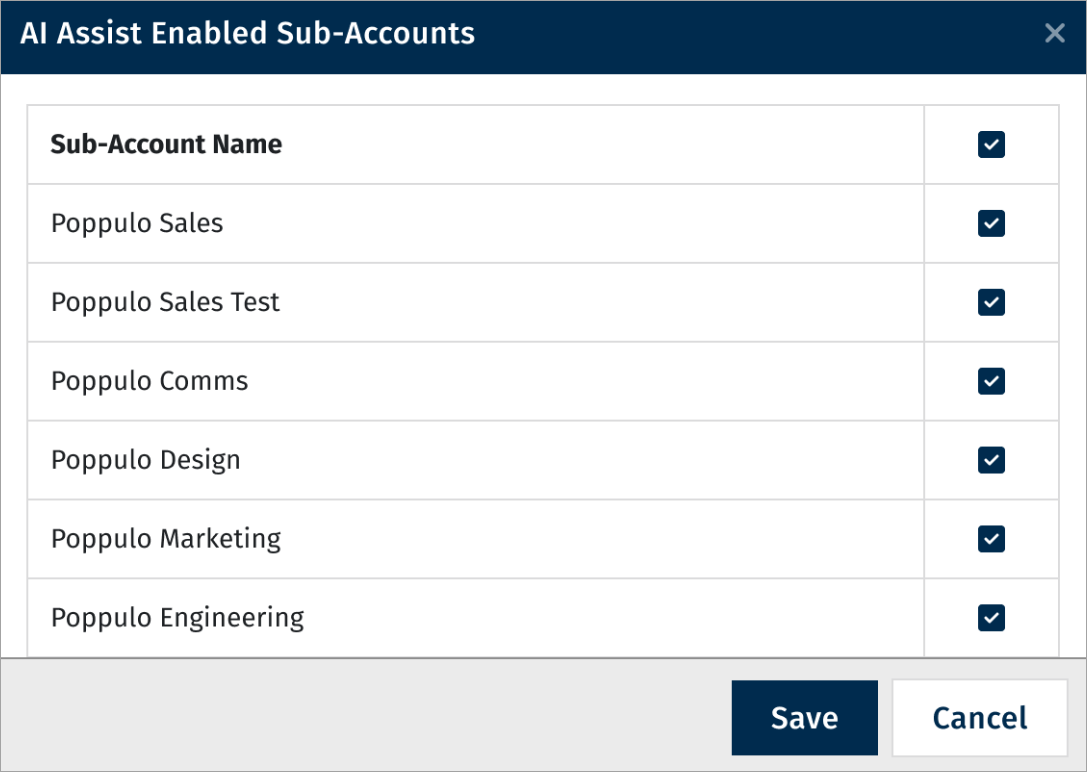
- To enable/disable AI for individual sub-account(s), at the Enterprise level, go to Settings > Sub-Accounts Settings page > enable the Poppulo AI - Content Assist toggle.
Note: AI must first be enabled at Enterprise level.
- Click Configure Sub Accounts, and select the sub-accounts to enable / disable AI.


