You can use generative AI in Poppulo to quickly create compelling Feed post titles and notification copy based on your content. This feature helps you save time, reduce writer’s block, and generate concise, engaging titles that align with your message.
Enterprise administrators can enable or disable generative AI at any time. When enabled, the AI icon appears in the text editor. It remains inactive until you add at least 10 characters of body content.
Generating a Post Title, Notification Title or Notification Description
Select the AI icon to generate post title, notification title, and notification description suggestions. Poppulo creates these suggestions directly from your post body, helping you produce clear, consistent messaging without manually drafting each field.
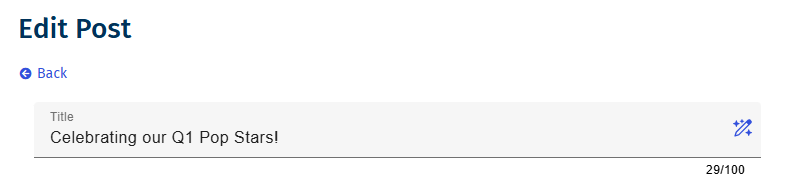
Once the you click on the AI icon, the post title modal displays:
- Up to nine suggestions, displaying three at a time.
- The Use This Title button becomes active once the you select a title / description.
- Once clicked, you are directed back to the Create a Post page, and the field has been populated with the selected title / description.
- If none of the suggestions work for you, click Cancel to return to the Create a Post page.
A new set of up to nine titles / descriptions are generated each time you click the AI icon.
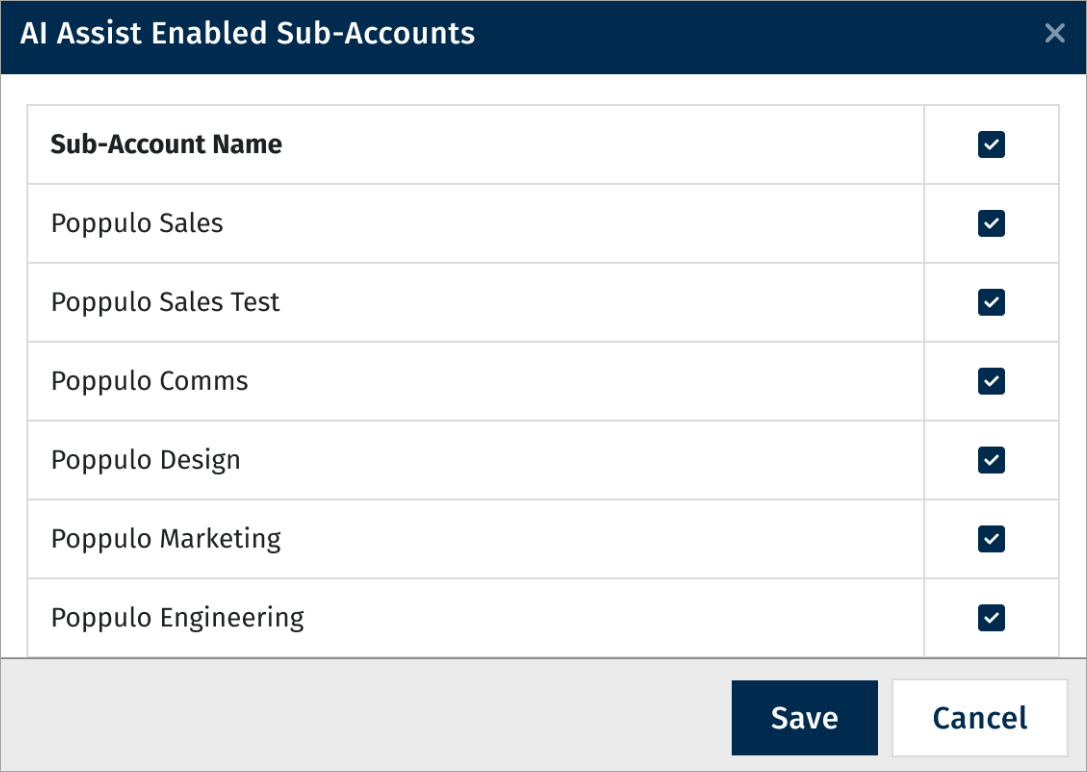
- To enable generative AI for Feeds, at the Enterprise level, navigate to Enterprise > Settings > Sub-Account Settings > enable the Poppulo AI - Content Assist toggle.
- To enable/disable AI for individual sub-account(s), click Configure Sub-Accounts.
- Select the sub-accounts to enable / disable AI and click Save.