The Enterprise Calendar gives Enterprise Administrators insight into the send activity across all of their Sub-Accounts. Use the calendar to view the planned, scheduled and sent emails across Sub-Accounts and filter the calendar view by group, meaning only activity for Sub-Accounts within a chosen group will appear in the calendar.
The Enterprise Calendar also allows you to Add a Blackout Period to restrict Sub-Accounts sends during a certain period of time. For example, if emails can only be sent after approval from a certain stakeholder who is on annual leave for 2 weeks; a blackout period will ensure no emails can be sent until the stakeholder returns.
Use the instructions below to view the calendar and filter by group. There are also instructions on how to Add a Blackout Period below.
To Filter your Enterprise Calendar by Sub-Account Group:
-
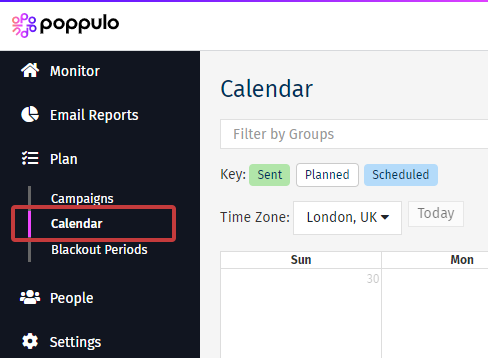
In the Enterprise, select Plan from the menu on the left - then choose Calendar from the sub menu.

-
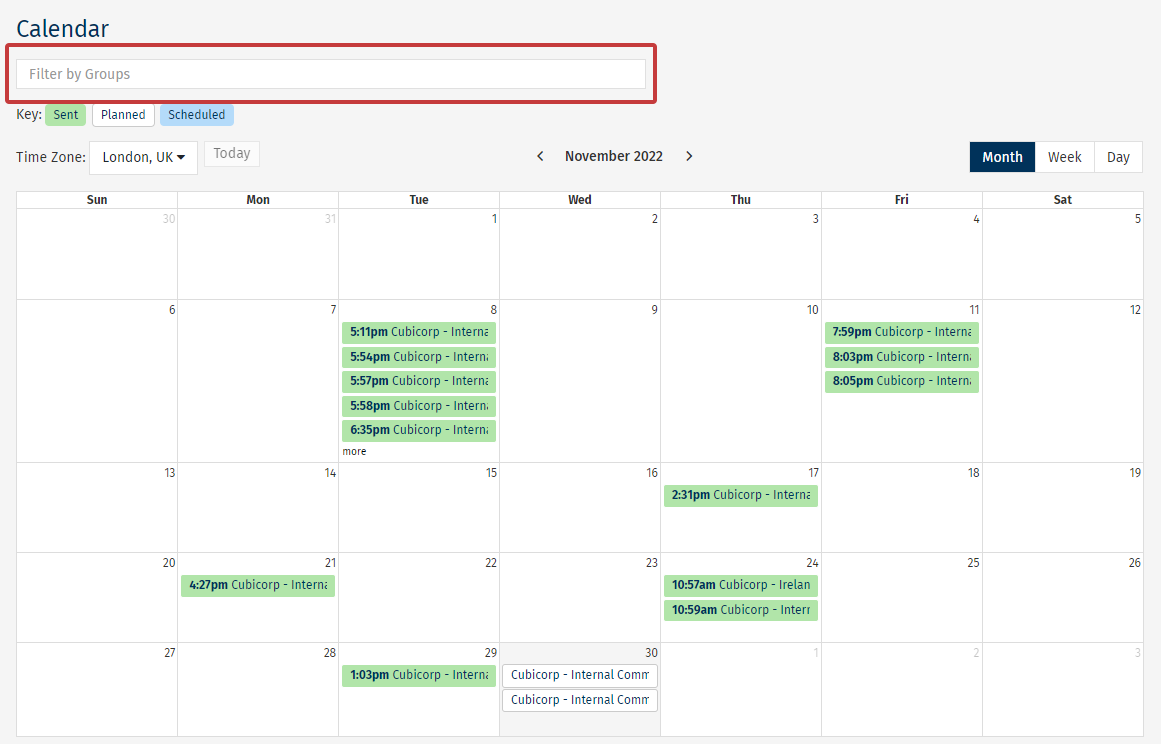
You'll see your calendar here. Enter the name of the group you'd like to filter your calendar by.

Note: You can view your calendar by month, week or day.
To Create a New Blackout Period:
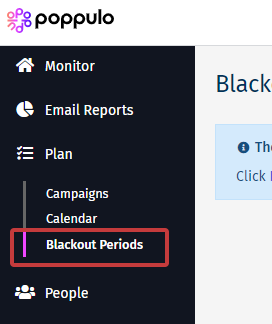
- In the Enterprise, select Plan from the menu, then Blackout Periods.

-
Click the New Blackout Period button.


-
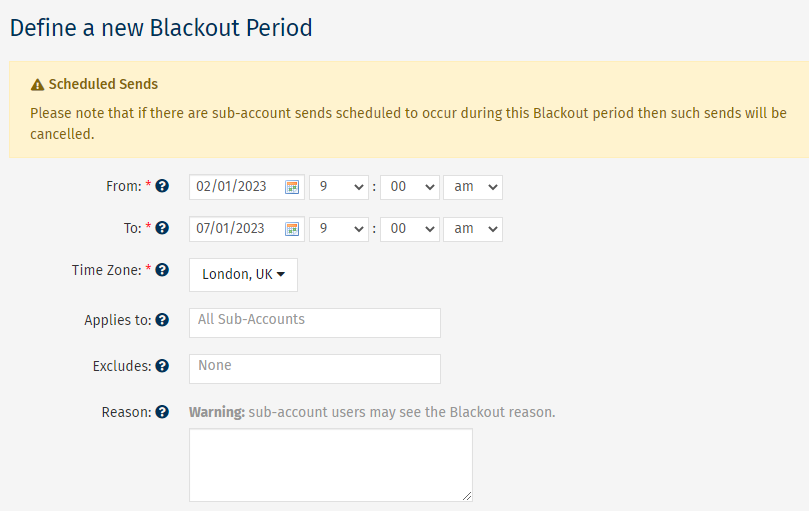
Complete the Blackout Period criteria, including the date of the blackout and what accounts are to be included or excluded from the blackout. Then, press Save.

Note: Sends scheduled during a blackout period will be cancelled. We would advise you to get in touch with your sub-account administrators before automatically cancelling their sends.
-
Your Blackout Period will appear in the Blackout Periods Overview list and can also be seen on the Calendar.

Note: You can delete the Blackout Period at any time but cancelled scheduled sends will need to be recreated.
-
Sub-Accounts included in the Blackout Period will be unable to send during the period. The error message below will appear if trying to schedule a send during the blackout period.


