Editable Content Areas are the sections of your Email template where you can add or edit content. Throughout your template, you can edit the content and images in section areas. Editable Content Areas allow you to add or edit three types of content; text, image and rich text:
-
Editable Text Area
-
Editable Image Area
-
Editable Rich Text Area
Note: To edit the content or images in Article, refer
Create an Article and
Edit an Article.
Editable Text Areas
These are the areas where you can update Plain Text on your template. Editable Text Areas are generally used for section headings or for Useful Link areas.
To Edit an Editable Text Area:
-
Navigate to a section and click the section title heading. It turns into an editable text area.

-
Enter the desired text and click outside the section. The modified content appears.
-
Additionally, you can add title bar to a section. Click Add title at the top of the section. The area turns into an editable text area.

- Enter the desired text and click outside the section.

Editable Image Area
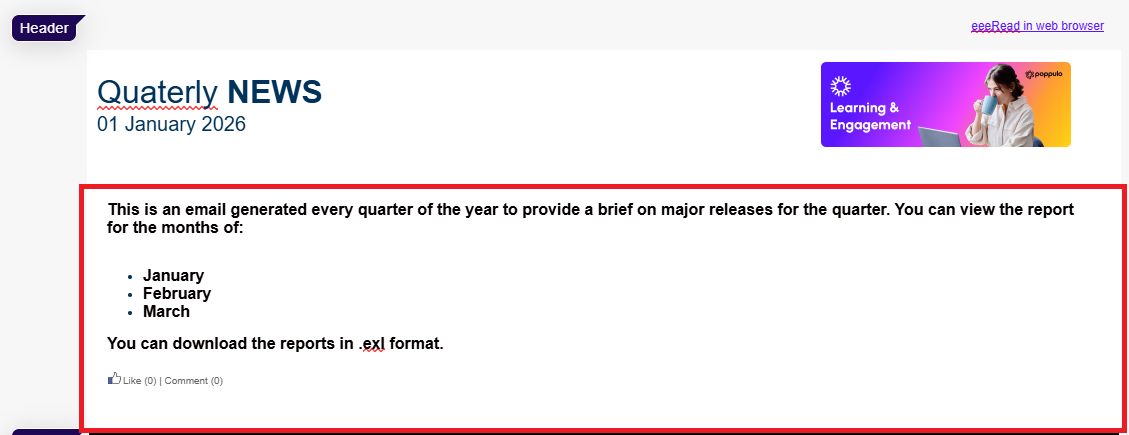
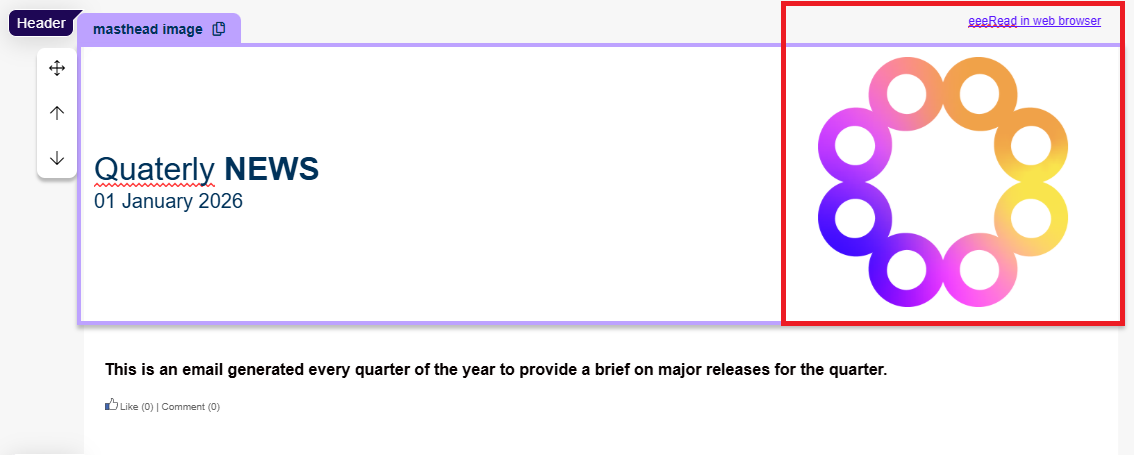
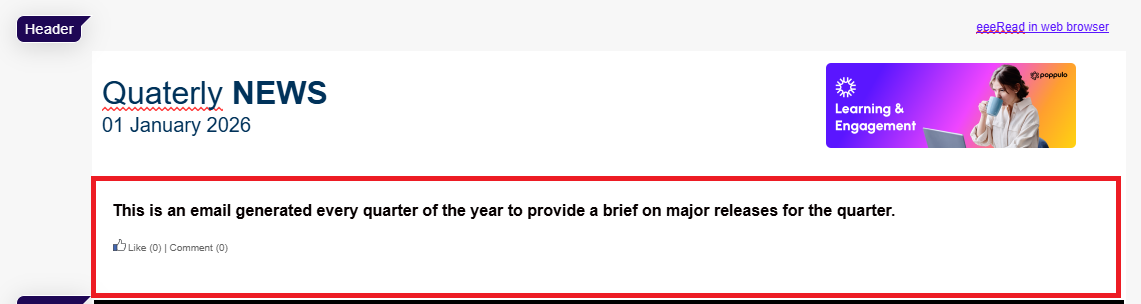
These are areas of your template where you can change which image appears. For instance, they're used to display the masthead image across the top of newsletter and flyer templates.
To Edit an Editable Image Area:
-
Click the image in your Email specifically Masthead image.
-
Select Edit to edit the current image or replace it.
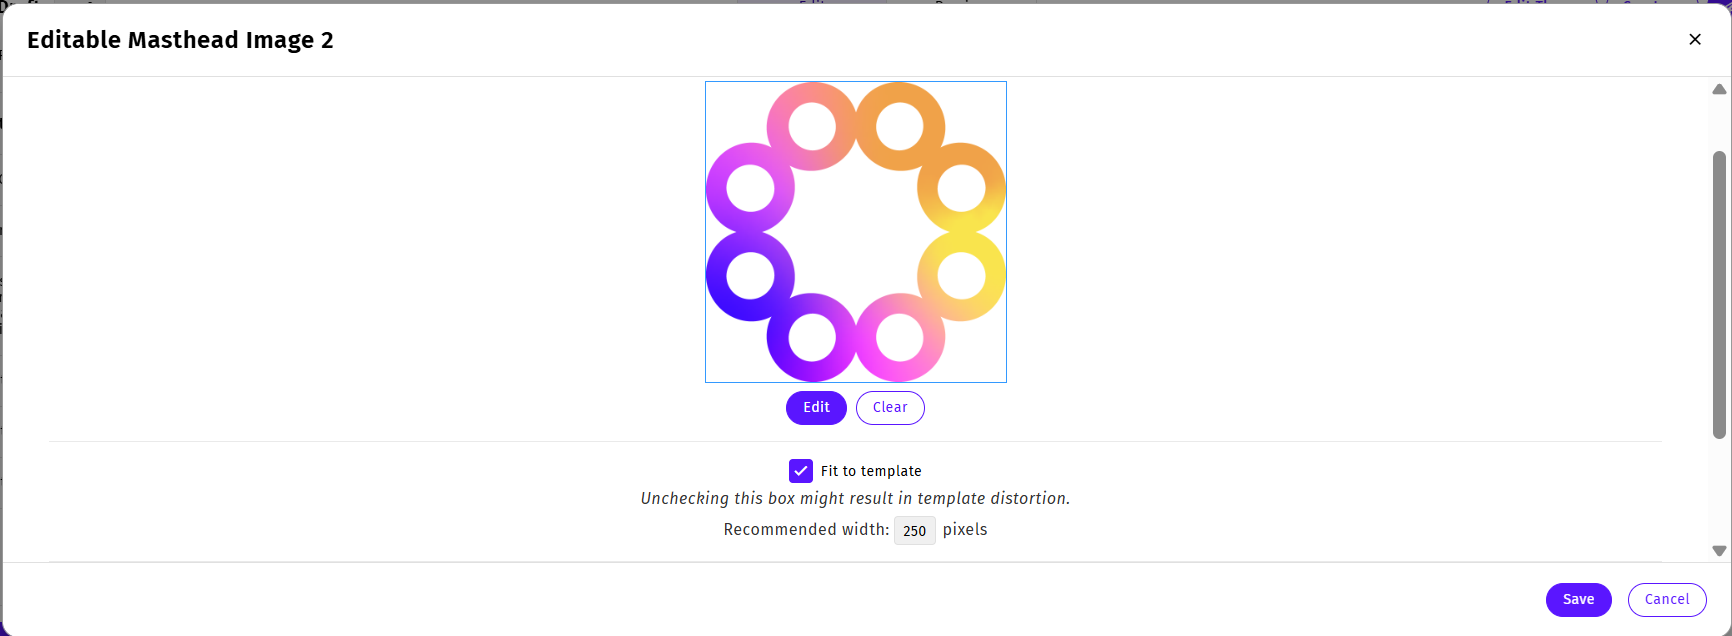
Note: The edit button will appear below an empty placeholder if your template is blank.
-
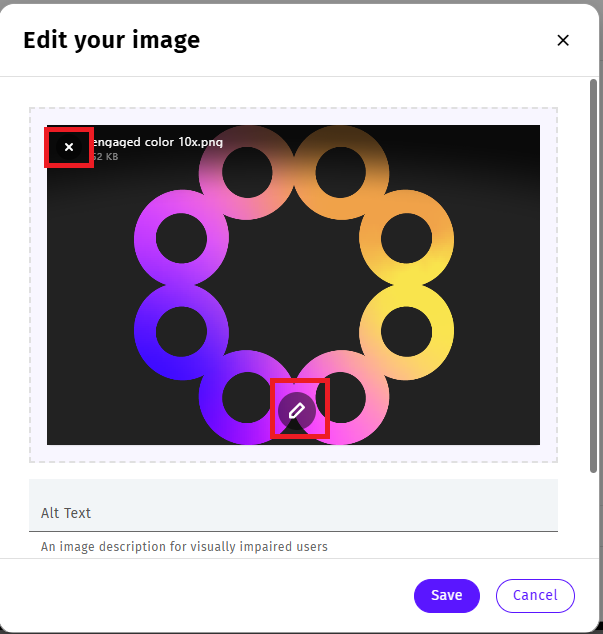
Use the Image Editor by clicking on the pencil icon to make any necessary alterations to your image, or select the X icon to remove and replace the image.
-
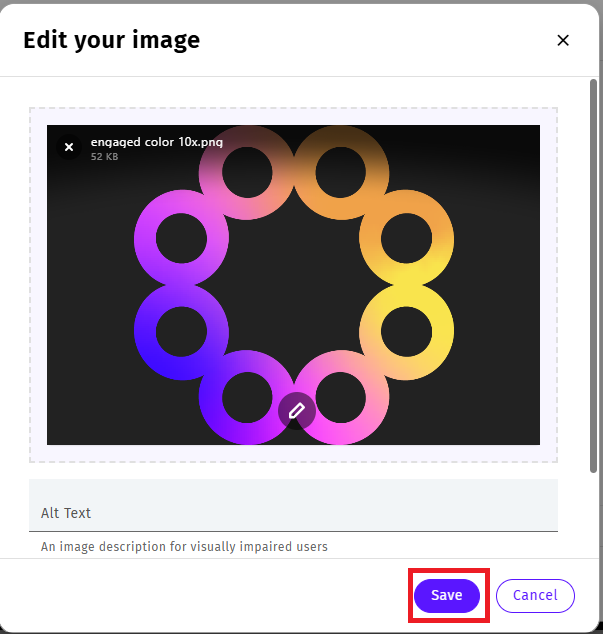
Once you've altered your image or chosen a replacement image, select Save.
Note: You can also Add Alt Text to describe your image.
-
Enter a URL to redirect readers who click the image to a website, an intranet page, or newer version of the newsletter (optional).
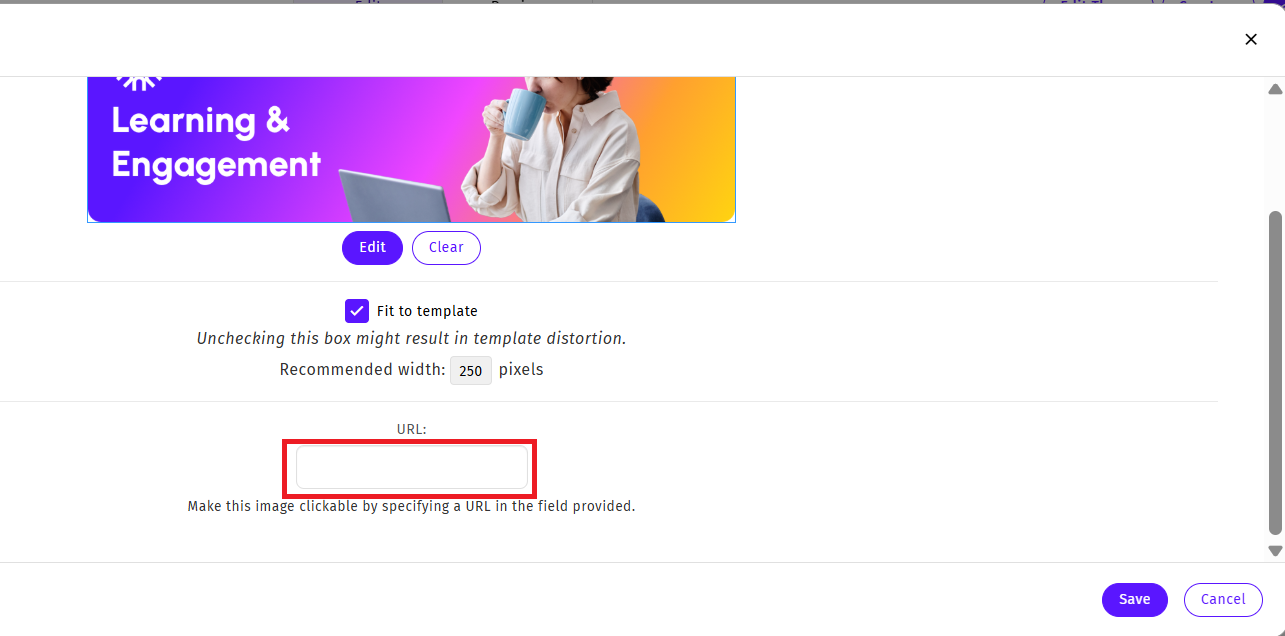
Note: Use the Fit to Template checkbox to resize the image to a predefined template size. We recommend good resolution images so they do not blur when resized for different screens and devices. The Recommended width shown here is the template display width (to aid in creating graphics).
-
Click Save to update the Image. Your new image will appear in your Newsletter.
Editable Rich Text Areas
These are areas where you can add Rich Text to your template. Rich Text supports text formatting, such as bold, italics and underlining; as well as different fonts, font sizes and coloured text. When editing an Editable Rich Text area, the Content Editor Toolbar opens, giving you greater control over the formatting of your rich text. It also supports HTML, allowing you to add images, video content and your own code.
To Edit an Editable Rich Text Area:
-
Navigate to the text area of the Section and click once.
-
The edit screen will open with the Content Editor Toolbar at the top, giving you full control to make you your changes to the text formatting.

-
After you have modified the content, click outside the section. Your new text will appear in your Newsletter.