Poppulo Harmony allows you to create and edit tables to present your data effectively. Once you've Added a Table, you can edit and style them. Give it a try and follow the instructions below to edit and style your tables.
Editing your Table Properties
Editing your Cell Properties
Merging Cells
Note: If you've created a table outside of Poppulo Harmony, taking a screenshot of the table and Adding it as an Image may save you time.
-
Select your table and then click the Table properties icon.
-
Complete the General tab in the Table Properties dialog box.
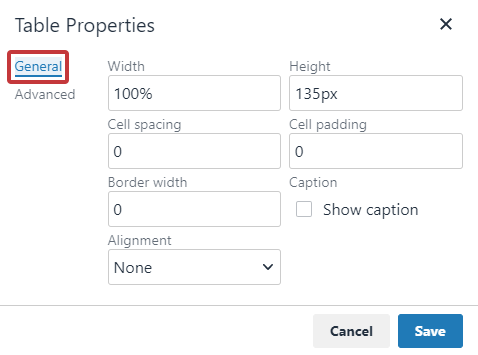
General Table Properties dialog box explained:
-
Width: Determines the width of the table.
-
Height: Controls the height of the table. Generally there is no need to specify this. If unspecified, the table height will be automatically set to accommodate the content.
-
Cell spacing: The amount of space between cells. We recommend setting this value to 0.
-
Cell padding: The amount of space (in pixels) between the sides of an individual cell and its contents.
-
Border width: The thickness (in pixels) of the border to be set on the table (leave this at 0 if you don't want a visible border).
-
Caption: Creates an empty row at the top of the table to add a table caption/title.
-
Alignment: The table can be aligned to the right, center or left of the page (tables are left-aligned by default).
-
Complete the Advanced tab.
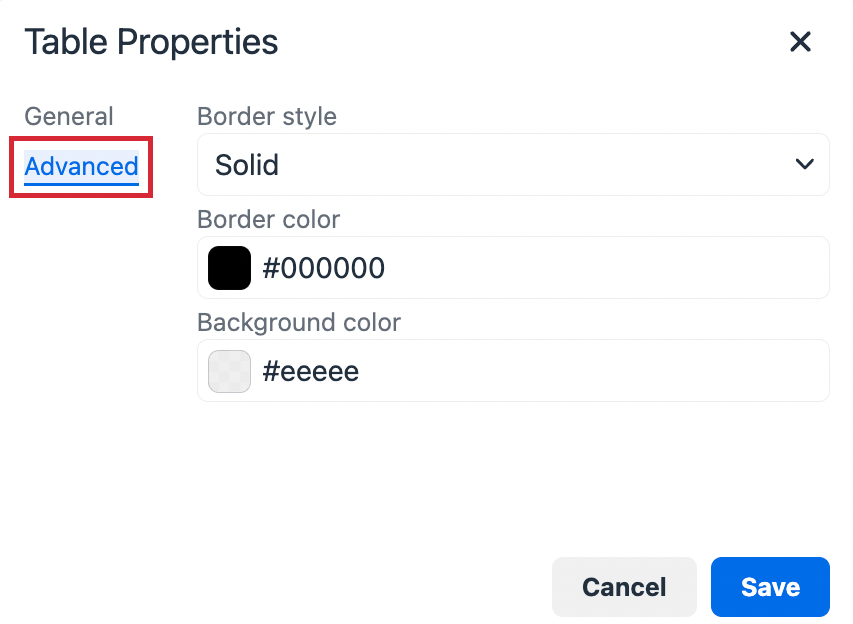
Advanced Table Properties dialog box explained:
-
Border style: The style of the outline/borders of your table.
-
Border color: The color of the borders on your table. Enter a hex code or choose a color using the picker.
-
Background color: The color of your table's background. Enter a hex code or choose a color using the picker.
-
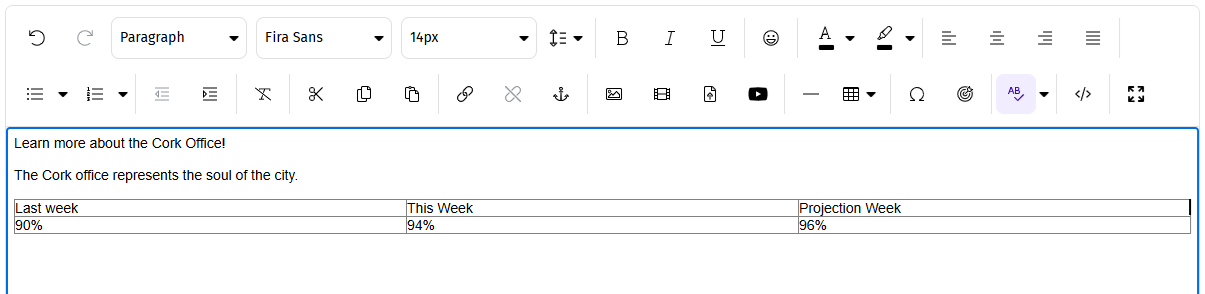
Once you're happy with your selections, click Save. Your table will display with your chosen properties.
-
To edit the styles of an individual cell, row or column in your table, select the table and click the Table icon from the Content Editor.

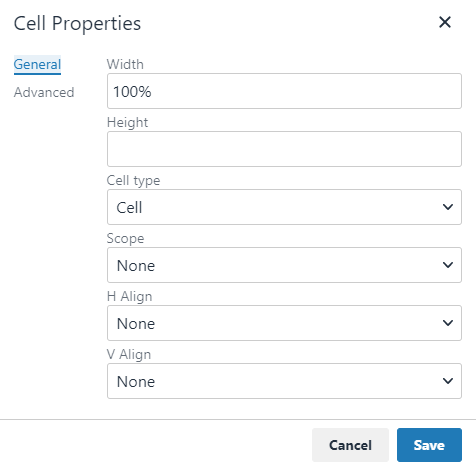
Cell Properties
-
Width: Sets the width of the cell, affecting the column with that cell.
-
Height: Sets the height of the cell, affecting the row with that cell.
-
Cell Type: Choose between Cell or Header Cell.
-
Scope: Set the cell as a Row, Column, Row Group or Column Group.
-
H Align: Horizontal Alignment for your content.
-
V Align: Vertical Alignment for your content.
- Alignment: The table can be aligned to the right, center or left of the page (tables are left-aligned by default).
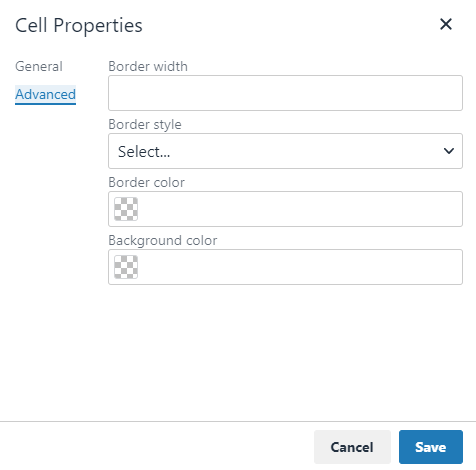
The Advanced Cell Properties will allow you to set the border color, width and style, as well as the cell background color.
-
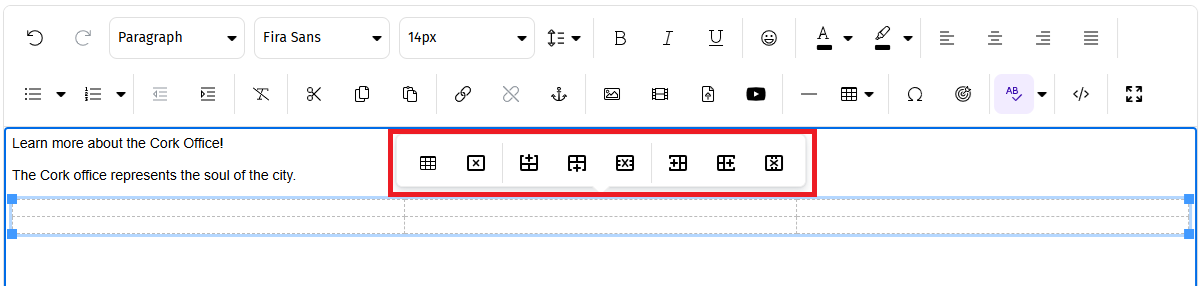
To merge two or more cells, select the cells you want to merge and click the Table icon from the Content Editor.
-
Under Cell and select Merge cells.
