Articles are your main source for content in your Newsletters, letting you break up your Email content into several talking points. Each Article consists of a Summary and Full Story area. Information entered into the Summary of your Article displays on the Cover Page of your Newsletter, and anything added to the Full Story will appear on the back-page. You should keep Summary text short and interesting to entice your readers to click the Read More link. (Note: the Read More link will not appear if the Full Story area is left blank)
Use the instructions below to add an Article to your Email.
To Create a New Article in your Newsletter:
-
Open/Edit the Email you wish to add the Article to.
-
In the Edit View of your Email, navigate to the Section you'd like your Article to display in, and select the + New Article bar at the bottom of the Section.
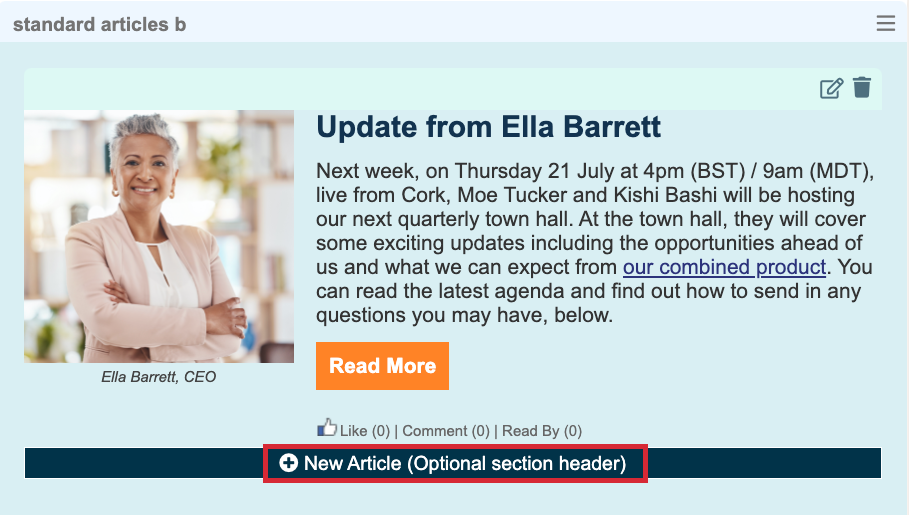
Note: This example contains a preexisting Article in this Section. The title in brackets is the Section your article will appear in. The Section names may differ based on your template.
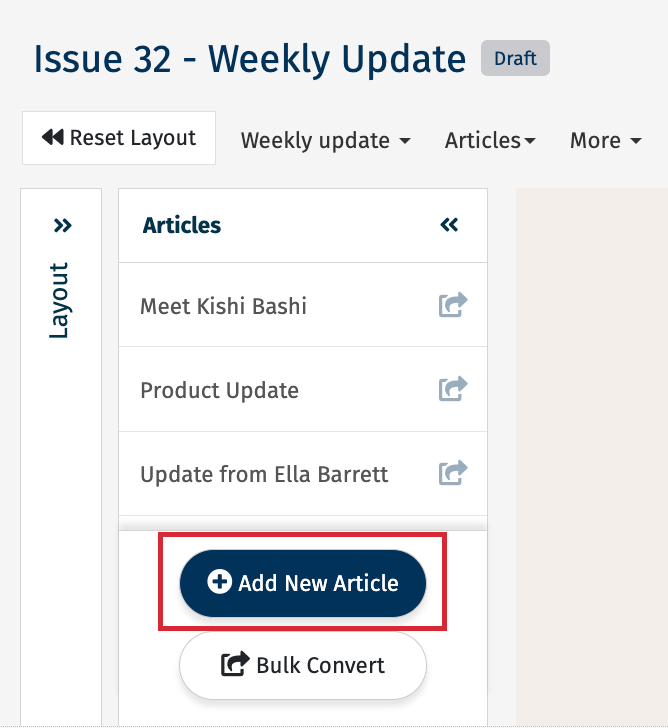
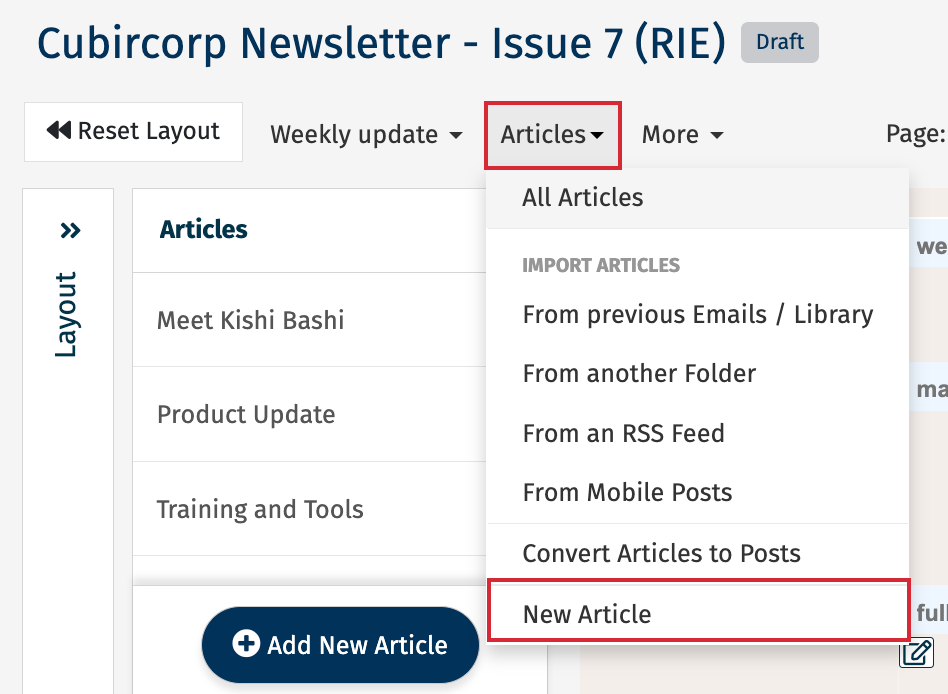
Alternatively, you can click the Add New Article button or select New Article from the Articles drop-down, and later drag your article from the Articles list to your desired Section. To learn more about dragging and dropping your Articles into your Email, please visit our Knowledge Base article how to Edit and Customize an Email.
- This brings you to the Create a new Article page. There is a breakdown of the screen below.
The Create a New Article Screen:
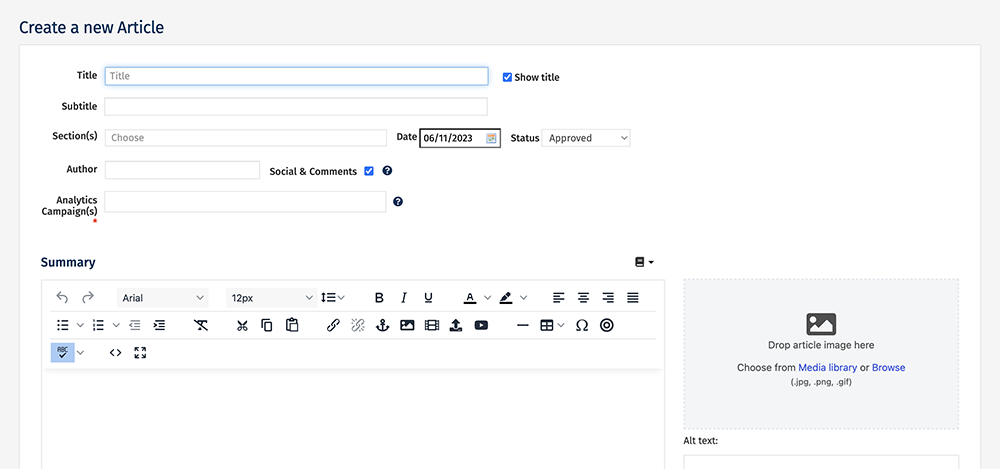
- Title - The name of your Article. This title will also be used for reporting purposes.
- Subtitle - Secondary text which will appear below the title in your newsletter.
- Section - Where your article will appear in your newsletter. You can Change the Section Associated with an Article. You can also move your Articles between sections on the Cover Page using Drag and Drop while in The Edit Email View.
- Order - (Visible when you Edit an Article) You can assign the order of the articles within the section. You can also Reorder your Articles any time.
- Date - You can date your email.
- Status - Decide if the article is still a draft or approved, which can be helpful if you you're coming back to your article at a later date.
- Author - Appears below the article on the cover page. Useful if the newsletter has multiple contributors.
- Social & Comments - Tick this box to Turn on Social Features. The ability to share, rate or comment appears below the article.
To learn more about this screen in an interactive environment where you can click to explore more, sign up to
Poppulo Academy using the branch code
customers, and enroll into the course
Create and Send an Email.Enter your
Summary and
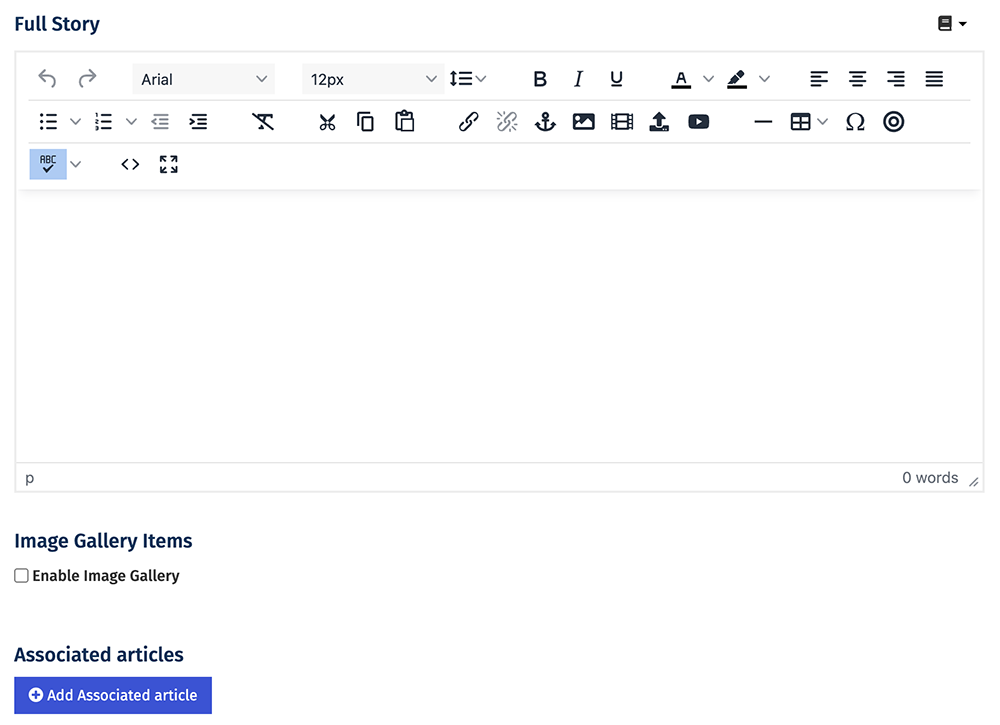
Full Story content,
utilising the Content Editor. Adding content to the
Full Story makes a
Read More link appear on your Article on the cover page, below your
Summary text.
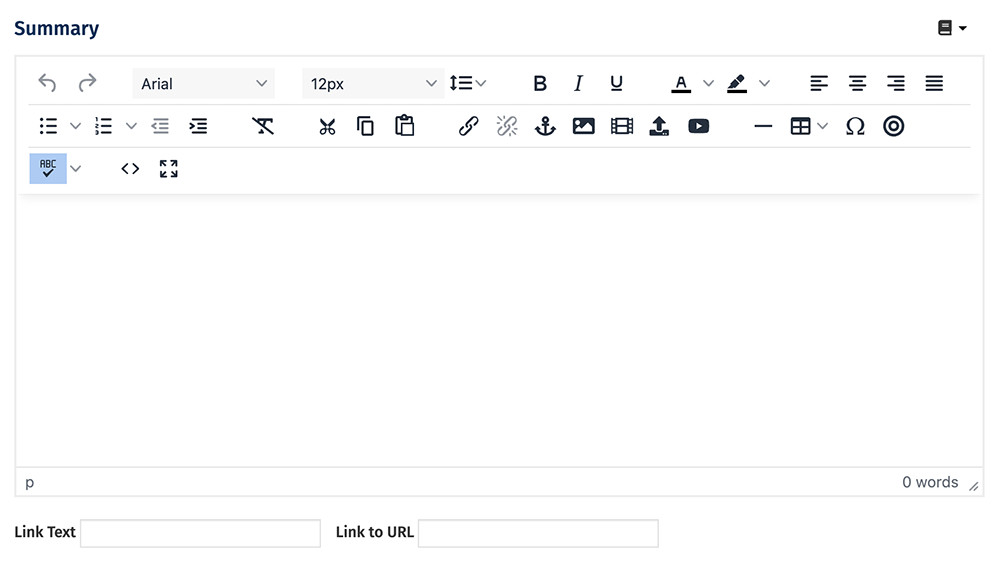
Note: Use the Link Text box to change the Read More text that will display on the cover page. The Link to URL box is for linking to an external link; instead of the reader being brought to the Full Story when they click on Read More, they will be brought to a link of your choosing. If you would like to use the Link to URL option, ensure you leave the Full Story blank.
Note: Do not include sensitive information in the Summary, as your newsletter cover page could be viewed externally if an employee forwards it outside of the organisation.
You can also
Insert a Placeholder Image to your Article's Summary or Full Story by dragging-and-dropping an image into the box from your own files, or simply by clicking the area.
Note: The image will be automatically resized by the Template to suit the Article, but our built-in Image Editor allows you to crop, resize or make visual edits to your image as needed.
Choose
Save to add your new Article to your Email.

