Below you'll find step-by-step instructions on how to create an Email in Poppulo. You can also Create an Event Invitation.
To Create an Email:
-
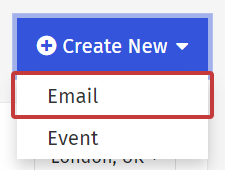
From the Overview page, select the Create New button and choose Email from the drop-down.
-
Choose between Newsletter or Flyer to see templates available and then choose a Template to use.
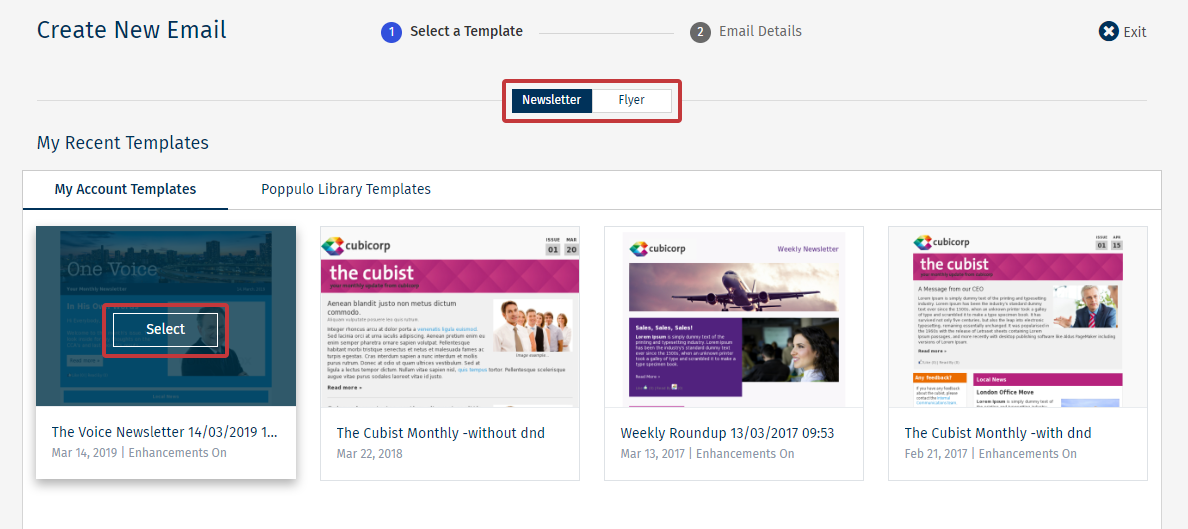
Note: If there are no templates in your My Account Templates tab to choose from, contact Support.
-
In the Email Details, enter your Email Title and choose the Folder for your email in the drop-down.
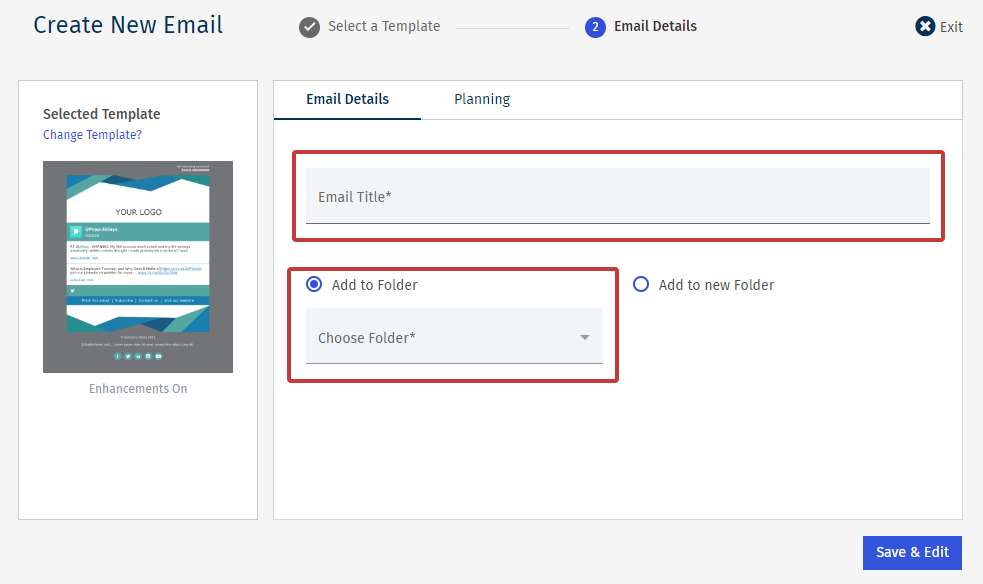
Note: You can also Create a New Folder here, just enter a Folder Name.
- Under Planning, perform the following steps,
-
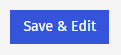
Click Save & Edit to finish creating your email. Now you can start Adding Content.