The Event Module allows you to create and send Event Invitations to employees across your business. Unlike some traditional platforms used to send meeting invites, Poppulo does not limit the number of people you can invite.
Advanced Events use templates and provide RSVP options and reporting, and allows you to send targeted Follow-ups to invitees based on their response (for instance, sending reminders to those who haven't opened the original invite).
Adding an Event Registration Form to your invite is a great way to gather extra details from your invitees.
You can include a Registration form during the process to Create an Event Invitation, or follow the instructions below if you have already created the event invitation email.
Note: Simple Events allows you to send an Event invite directly to the recipients inbox and calendar without the use of a Poppulo Templates. You cannot add a registration form to a Simple Event.
To Add a Registration Form to an Event Invite:
-
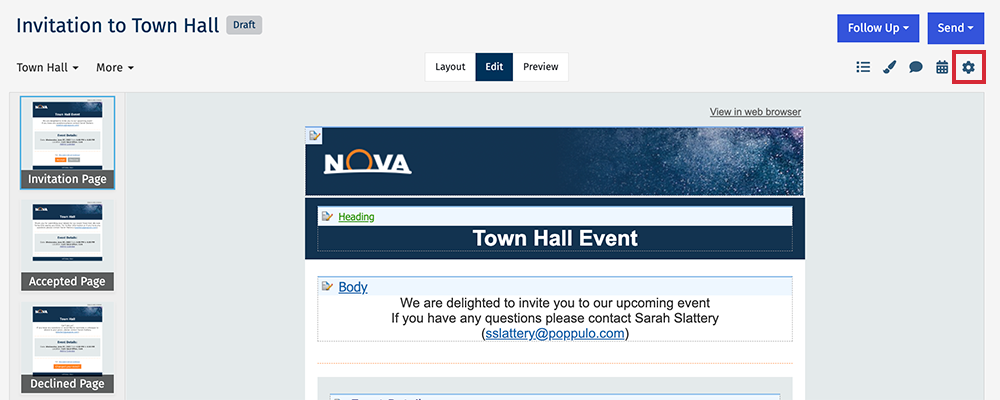
In the Event Invite Edit screen, navigate to the Settings icon and choose Event Settings from the drop-down.

-
Scroll to the RSVP Options and check the Require Registration checkbox
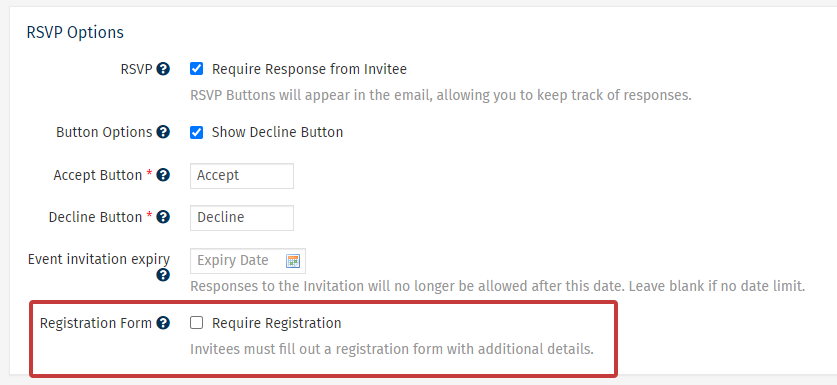
Note: This setting cannot be changed after a live send of your invite.
-
Additional options will appear for Privacy Settings. Choose Save to add your Registration Form.
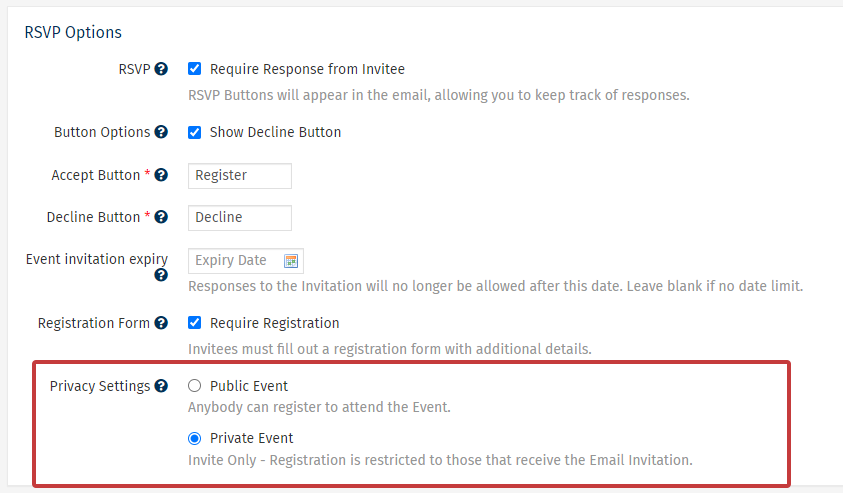
Note: You can Add an Event to your Intranet when the event is Public.
-
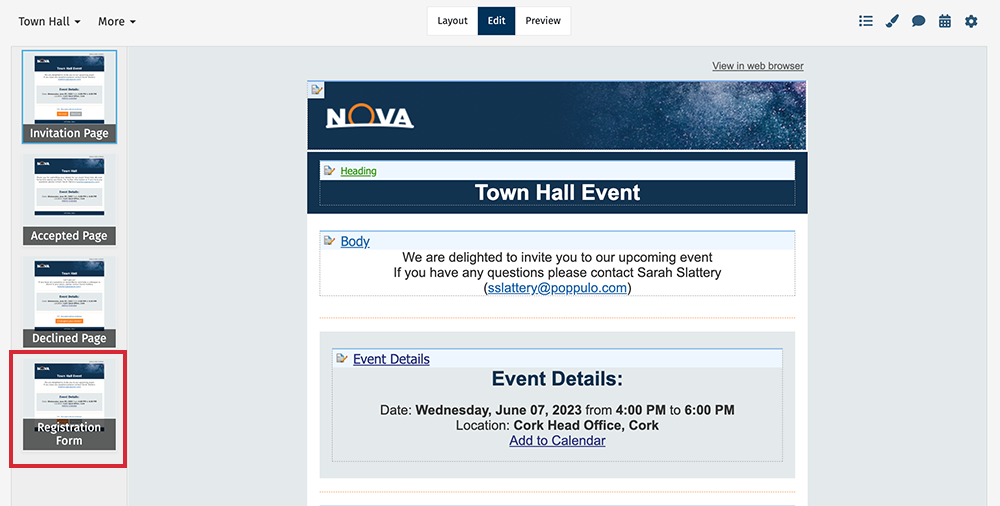
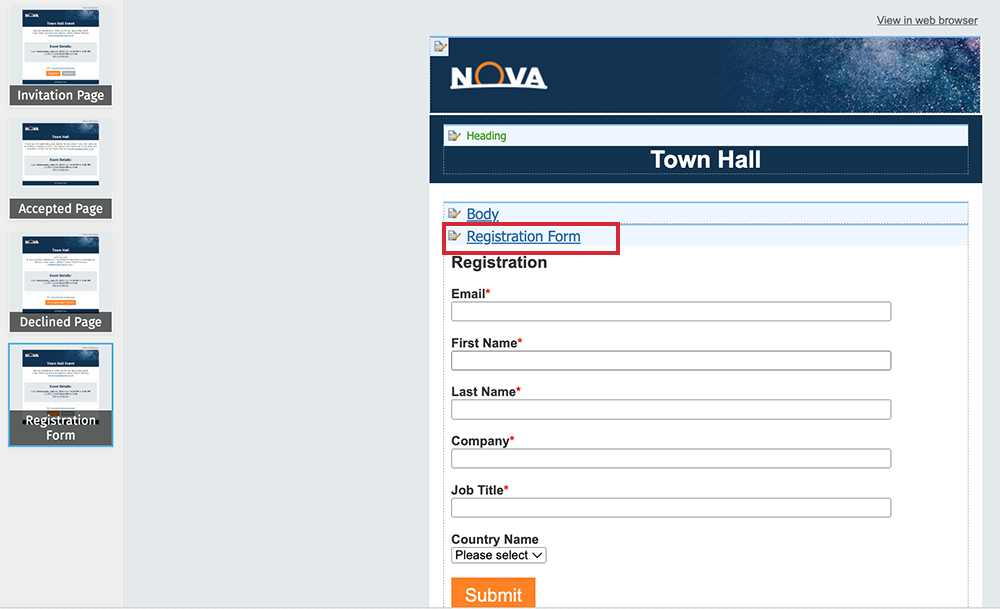
The Registration Form will now appear on your Event Invite. You can now Edit your Event Registration Form.

Note: The Accept Button on your Invitation Page will also change to Register, and link to the Registration Form.
<back to top>
To Edit an Event Registration Form:
-
Open the Event containing the Registration form you'd like to edit.
-
In the Event Invite Edit screen, select Registration Form from the menu on the left.
Note: If you do not see the Registration Form page on the left, you may need to Add a Registration Form.
-
In the Registration Form page, select the Registration Form Pencil and Paper edit icon.
-
From the Edit Registration Form screen, make your desired changes using the functions on the top of the form, the Edit / Delete buttons to the right, and the option to drag items into order. Choose Save to save your changes.
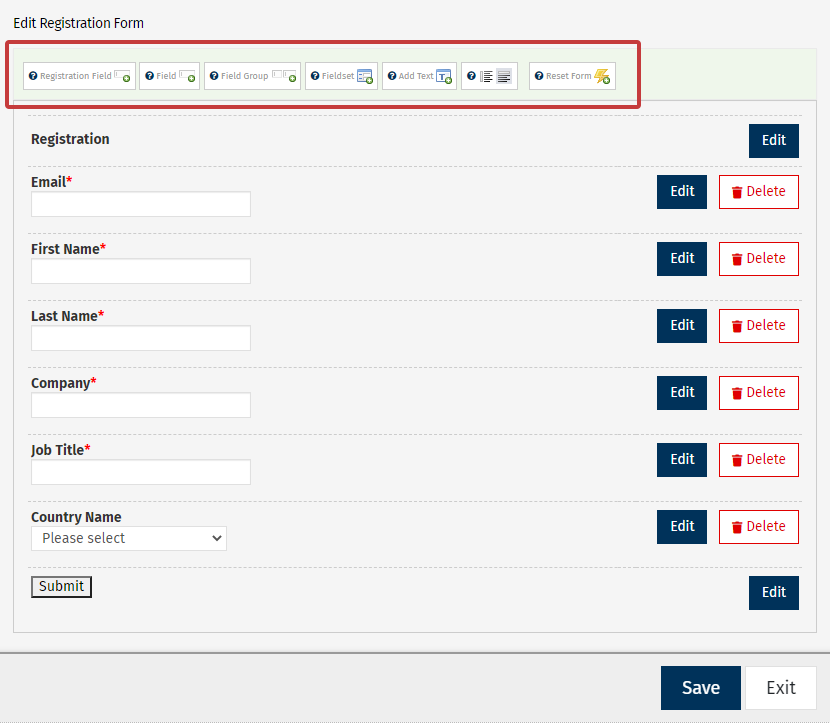
- Click Save to save your changes, and Exit to return to the Registration form page.
<back to top>
