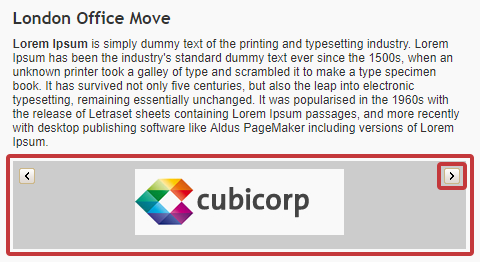
If you want to add multiple photos or images to a particular article, adding an Image Gallery allows you to show a selection of images which your reader can click through. It's a perfect way to share images from an event for example, without having your audience scroll down the page to view all of the images.
Follow the instructions below to enable an Image Gallery to your Article:
To Add an Image Gallery to your Article:
-
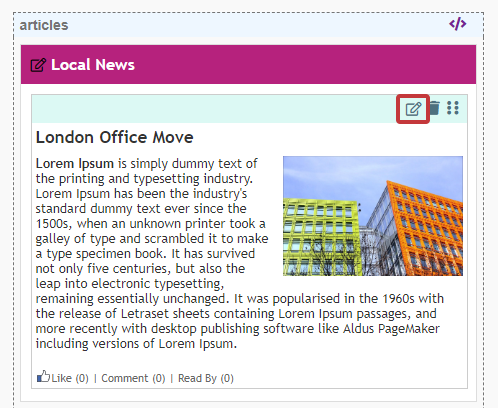
In the Email Editor, edit the article you wish to add the Image Gallery by clicking the edit icon.
-
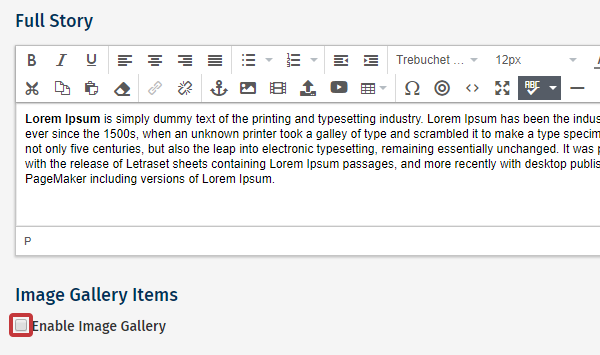
Below the Full Story field, check the Enable Image Gallery checkbox.
-
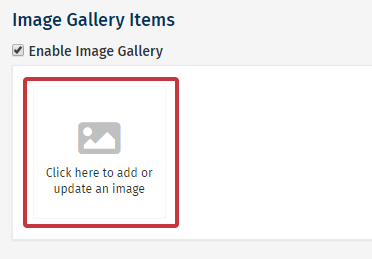
Click the Click here to add or update image box to open the image upload window.
-
Click 'Choose File' to upload an image from your computer, or select an image (or multiple images) from your Media Library.
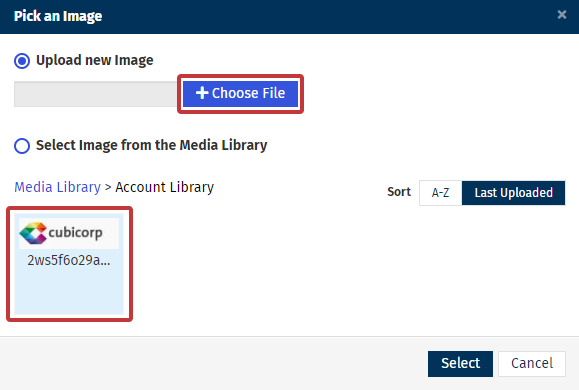
Note: Images must be added one at a time from your computer but multiple images can be added to your gallery from your media library. You can add multiple images by Uploading a Zipped File to your Media Library.
-
Your image will appear in the Image Gallery. Click the Click here to add or update image to add any additional images you want to display in the gallery.
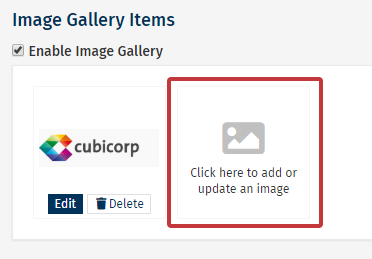
Note: You can Add Alt Text to an Image Gallery.
-
When finished, Save your article. Any images uploaded to your gallery will now appear in a display box at the bottom of your article (as below), allowing your audience to click left or right to scroll through the images.
