Adding a personalised greeting to your communication (e.g. Hi Robin) is a great way to capture the attention of your readers and increase engagement. Inserting a content macro lets you tap into your employee data and pull this data into an email.
For example, when sending to robin@cubicorp.com, you can start your articles with "Hi Robin", pulling 'Robin' from the First Name data field. The instructions for adding a personalised greeting to your email are below. You can also personalise your email's subject line or personalise the sender details to further increase user engagement and capture the attention of your readers.
To Add a Personalised Greeting:
-
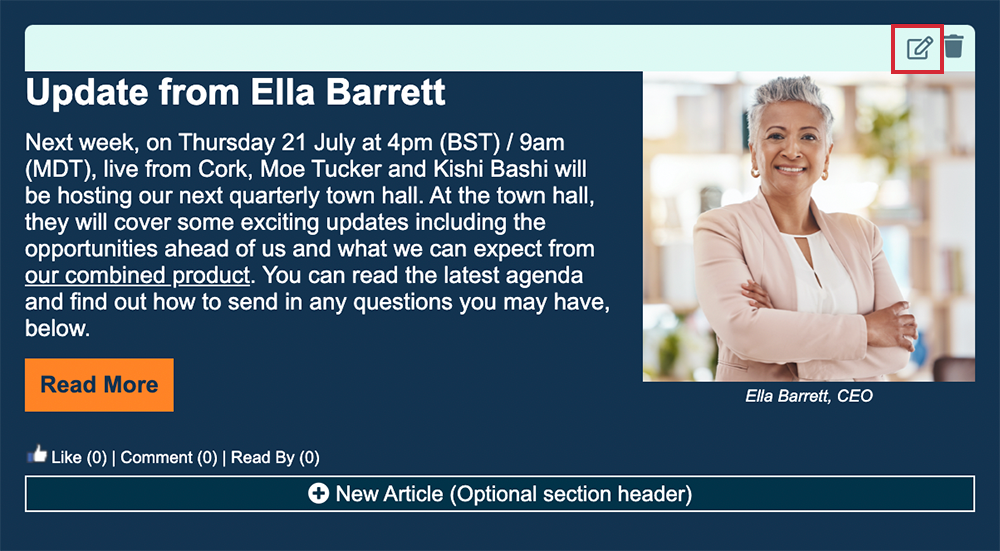
Edit an Email (or an Event).
-
In a Newsletter Email, Edit an Article to include the greeting.
Note: You can add a content macro to any Rich Text Area on the cover-page of a Newsletter, Flyer or Event.
-
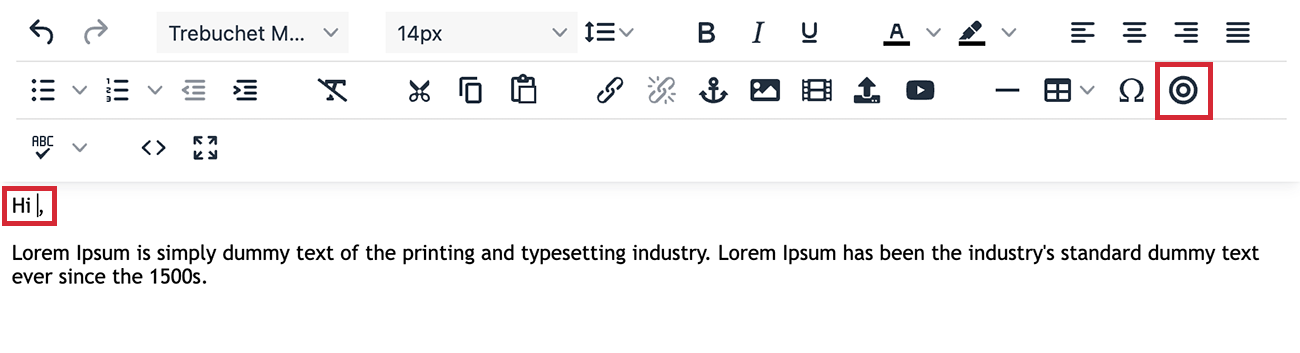
Place your cursor where you'd like the greeting to go. Then, click the Insert content macro icon in the Content Editor.

-
Choose Field and First Name in the drop-downs. Click Ok to create and save.
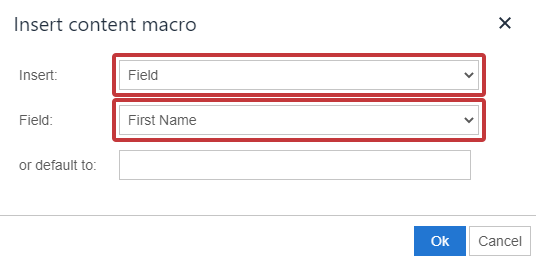
Note: You can also add text to the "or default to:" field. Add "everyone", "reader" or "colleague" for example. This default text will appear if your employee First Name data field does not have a value.
-
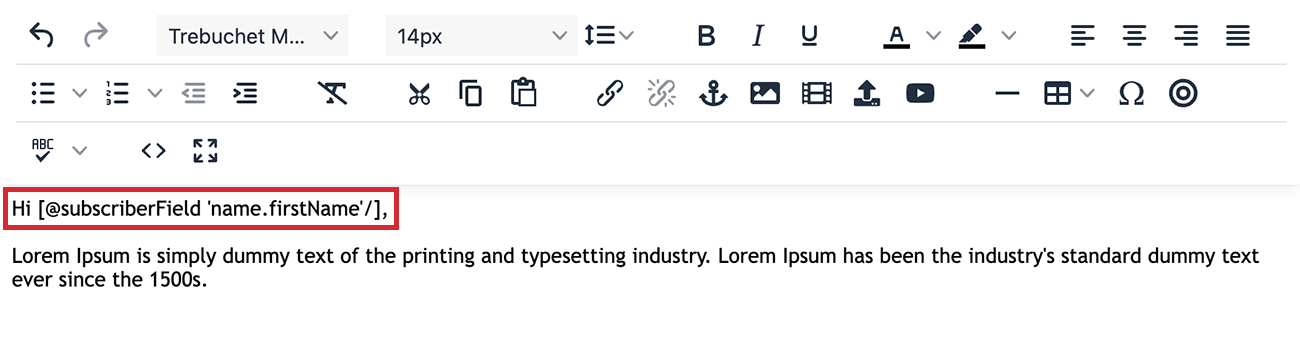
Your personalised greeting will appear as code in the content editor, e.g. Hi [@subscriberField 'name.firstName'/], and appear as the recipients first name in their inbox when they receive the email.
Note: Don't forget to add a comma after the macro.
-
Click Save to confirm the changes.
When sending your Email, Poppulo Harmony will use the code to pull your employee's first name into the email, ensuring each employee receives a version of the communication addressing them by their own name. You can use this feature to pull in other types of Data too. Personalise your emails with City, Department or Job Title, for example.
Note: You can preview your email as a specific employee to see the personalisation in action.
To learn more about personalising more elements of your email, register with Poppulo Academy and take our course Use Personalization to Increase Engagement
